Tagged with 'recipe'

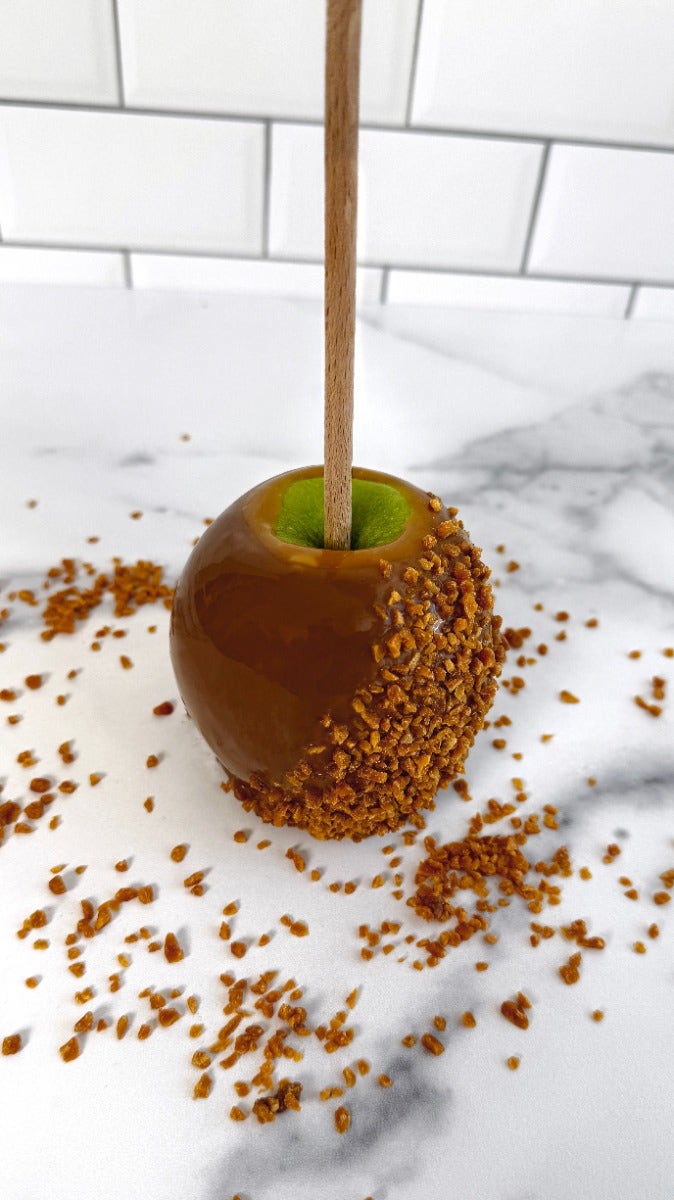
RECIPE: Chocolate & Caramel Dipped Apples with Salted Caramel Flakes

If you’re looking to create a simple, yet sensational fall treat using our NEW Salted Caramel Flakes, this Chocolate & Caramel Dipped Apples Recipe might be just what you’re looking for! 


Imagine crisp & sweet apples paired with sweetness from Peter’s Caramel & Eleven o’one European Deluxe Milk Compound Coating, topped with salty-sweet caramel flakes, making an irresistible combination!


Ok, enough talk, let’s make these delicious chocolate & caramel apples! 


Tools:

  • Large Pot
  • Double boiler or microwave safe bowl
  • Confectionary sticks (caramel apple sticks, popsicle sticks)
  • Wax paper
  • Silicone Spatulas

Ingredients:

Instructions: 

Prepare your Workspace: 
Line a baking sheet with wax paper to prevent the apples from sticking to the baking sheet & make cleanup a breeze.


Prepare the Apples: 

Bring a large pot of water to a boil. In the meantime, remove the stems from the apples.
Carefully dip apples into the boiling water with a slotted spoon for 30 seconds. This will allow the wax on the apples to melt away.
Dry apples with a paper towel & let them cool for at least 30 minutes. Insert a stick into each apple & set in the refrigerator while you prepare the other ingredients. 


Melt the Peter’s Caramel Loaf:

Check out this previous blog post on different ways to melt Peter’s Caramel Loaf. 


We recommend this double boiler method:

Prepare a heavy-bottomed saucepan or a double boiler. Ensure the boiling water does not touch the pan or bowl that will hold your caramel as no water should come in contact with your caramel.
Slice the desired amount of Peter’s Caramel Loaf & put it in the bowl going over the double boiler. 
Melt the Peter’s Caramel on low to medium heat, stirring constantly. 
PRO TIP: use a rubber spatula instead of a whisk to minimize air bubbles.
The temperature of your caramel should remain between 160ºF- 180ºF while melting.
Once you’ve reached the desired consistency, remove your Peter’s Caramel from the heat to avoid overcooking or burning.


Melt your Milk Chocolate

As we mentioned, we recommend our Eleven o’one European Deluxe line for this recipe: 
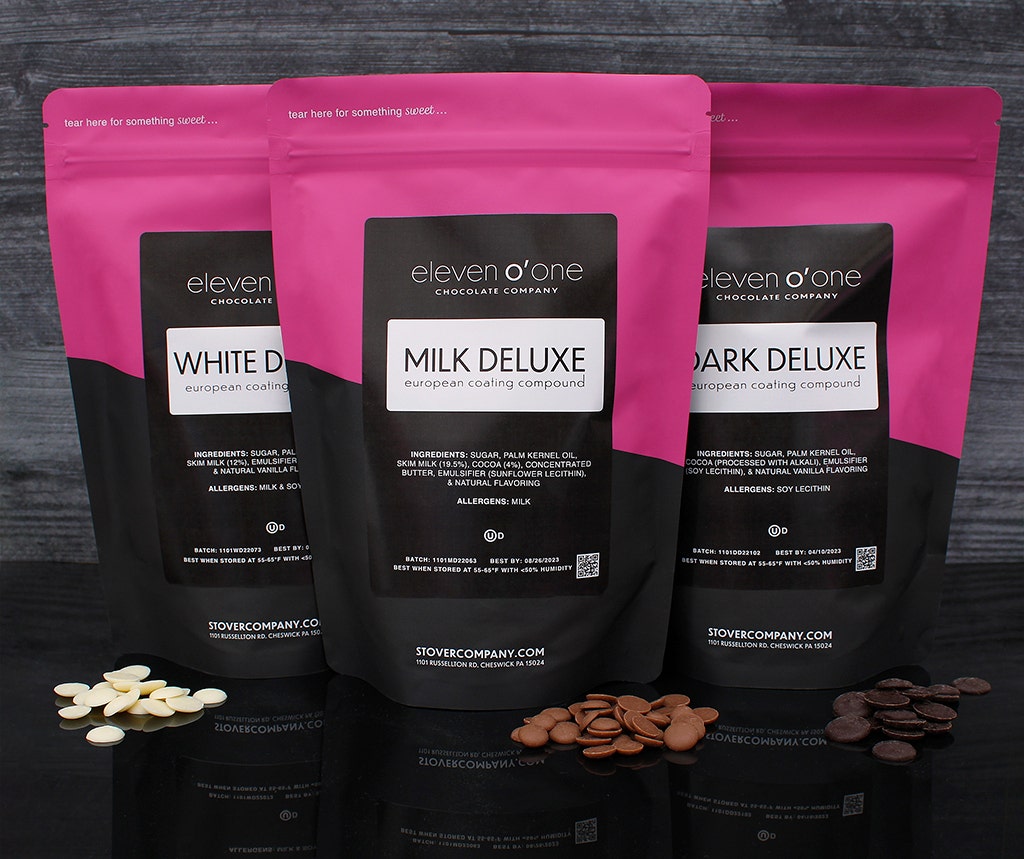
1. Fill a microwave safe bowl with Eleven o’one Milk Deluxe & melt for 30 seconds. 
2. Take out the container & gently shake the small wafers to disperse any hot spots. 
3. Return to microwave & heat for another 30 seconds. Remove & stir. 
4. Repeat this process one or two times more, reducing the time by 10 seconds with each intervol. 
5. When your wafers are about 75% melted, stop the heating process & stir with a silicone spatula. The warm melted wafers will aid in melting the rest of the coating wafers in the dish.
PRO TIP: Ensure your compound coatings do not exceed 90ºF. 

Dip the Apples: 
1. Use the confectionary stick to firmly hold your apple, then gently dip it into the melted caramel, twisting the apple until it is fully covered. 
2. Hold the apple over the pot to allow excess caramel to drip off then wipe the bottom of the apple on the edge of the bowl to create a clean bottom for your treat. 
3. Set your caramel dipped apple on the wax paper lined baking sheet for a few minutes to allow it to set. 
4. Once the caramel has set & cooled on the apples, proceed to dip in your melted chocolate to create a rich top layer.  
5. Before your chocolate layer fully sets, freely sprinkle your Salted Caramel Flakes on top for the perfect finish. The Flakes will adhere beautifully, adding a slight crunch & delightful flavor.

PRO TIPS:

Ensure your apples are fully dry before dipping in Peter’s Caramel Loaf
Ensure your Eleven o’one Milk European Coatings, or compound coatings of your choice are not too hot. Your melted chocolate should not be above 90ºF. 
Ensure your caramel coated apples have set well before dipping in chocolate.
If your compound coating layer has set before you are able to sprinkle the Caramel Flakes on, you can carefully use a culinary blow torch or heat gun to remet the chocolate. 
Your dipped apples will last for 1 week if properly stored & refrigerated. 
So grab your caramel & chocolate & make a detour for the orchid because these apples are sure to be a hit at your next Fall gathering! Happy Harvest!

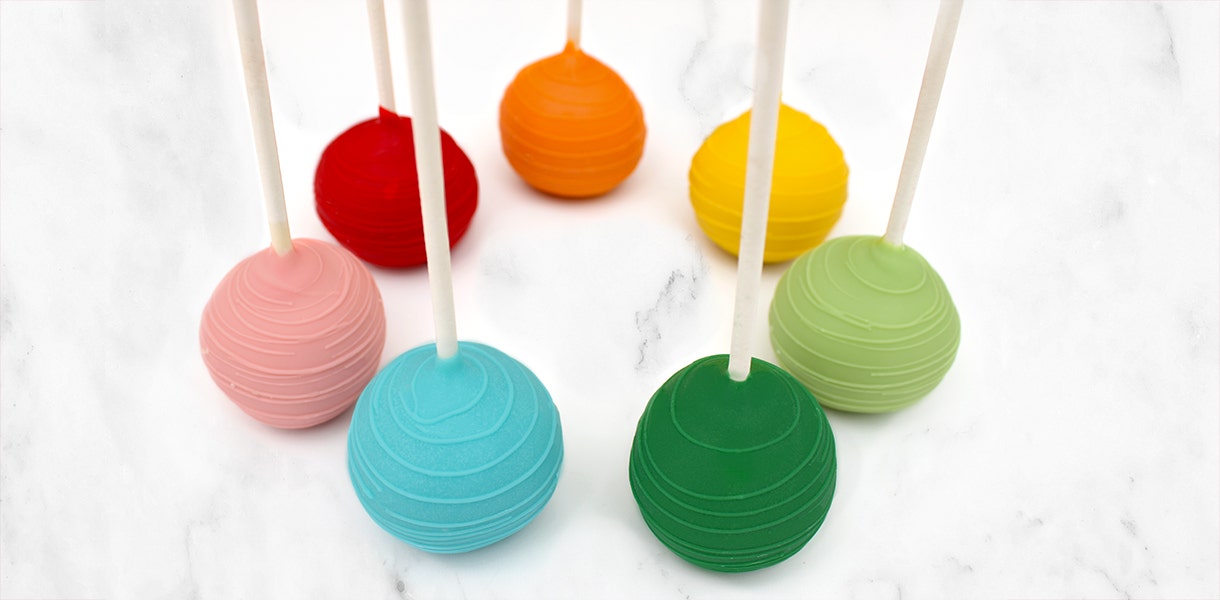


Rainbow Cake Pop Recipe using Sweet Shoppe Colored Wafers

Cake pops are the perfect combination of adorable & delicious treats that are sure to impress at any event. With a pop of color from our new Sweet Shoppe Colored Wafers, these cake pops become even more delightful & eye-catching. Whether you're preparing specialty cake pops for a birthday party, baby shower, or just making a fun dessert, this easy to follow recipe will guide you through creating sweet bites of happiness.

Ingredients:


Equipment:

  • Stand mixer
  • Mixing bowls
  • Rubber spatulas
  • Baking pan/Cookie Sheet
  • Parchment paper
  • Aluminum foil
  • Plastic Wrap
  • Cake pop or lollipop sticks
  • Microwave-safe bowl
  • Food Processor (optional)
  • Small plastic bags or piping bags (for drizzling)
  • Cake pop stand or styrofoam block


Instructions:

Step 1: Prepare the Cake:

  1. Bake your chosen cake according to the recipe or package instructions.
  2. As soon as your cake comes out of the oven, cover it tightly with aluminum foil for 10 minutes. 
    PRO TIP: When you trap the natural steam in with the cake, it will help keep things moist enough to create your cake pops without adding frosting.
  3. After 10 minutes have passed, *carefully* uncover your cake (it will be hot!)
  4. Add large pieces of cake into the bowl of your stand mixer or in a food processor.
    PRO TIP: If you're using a stand mixer, use the paddle attachment for this step. 
  5. Using your mixer, slowly crumble the cake until you form a large doughy ball.
  6. Carefully (it will be hot) wrap the dough ball with plastic wrap & let it cool completely. 
    PRO TIP: We recommend letting it cool overnight. 


Step 2: Shape the Cake Balls:

  1. Using your hands, or a small cookie scoop, weigh out the dough into approximately 1.1oz portions.
  2. Roll out the dough into even balls using firm pressure.
  3. Place the cake balls onto a baking sheet lined with parchment paper & cover with plastic wrap to avoid drying out the dough.

Step 3: Melt Sweet Shoppe Colored Wafers:

  1. Melt your Sweet Shoppe Colored Wafers in a microwave-safe bowl.
    PRO TIP: Check out this post or watch this video for step by step instructions.
  2. Stir the compound coating wafers until they are smooth & fully melted.
  3. Use a thermometer to make sure you do not overheat your Sweet Shoppe Coating Wafers. Your Coating Wafers should never be heated over 90ºF.


Step 4: Dip & Decorate:

  1. Dip the tip of a cake pop stick into your melted compound coating & insert your cake pop stick about halfway into a chilled cake ball.
  2. Let it dry to secure the cake pop to the melted compound coating, making sure to create a full coverage coating. Gently tap off any excess compound chocolate.
  3. With a scribe or a toothpick, pop any air bubbles before the Sweet Shoppe Coating Wafers dry. 
    PRO TIP: popping air bubbles reduces the risk of your cake pops cracking once they dry!
  4. If decorating with Sweet Shoppe sprinkles or Sweet Shoppe sanding sugar, you must act quickly before the cake pop dries completely so they will stick properly. 

Step 5: Drizzle & Decorate:

  1. Melt different colored Sweet Shoppe Coating Wafers & pour them into small plastic bags or piping bags.
    PRO TIP: make sure your piping chocolate is not too hot, as piping with hot compound coatings will make your cake pops crack!
  2. Cut a small hole in the corner of the bag & drizzle the compound coatings over the cake pops to create a drizzle design.
  3. Immediately sprinkle with decorative Sweet Shoppe sprinkles or Sweet Shoppe sanding sugar before the coating sets.

Step 6: Let Dry:

  1. Insert the other end of your cake pop stick into a styrofoam block or cake pop stand to allow the coating to set without creating a flat top. Sweet Shoppe Compound Coatings only take      a couple of minutes to dry.

Step 7: Let the Cake Pops Set:

  1. Allow the cake pops to fully set & harden before serving or packaging.

These cake pops coated with Sweet Shoppe Colored Wafers are a burst of color & flavor that will delight both kids & adults alike. With a bit of creativity & a handful of ingredients, you can create a stunning array of cake pops or dipped treats that will steal the show at any gathering. Enjoy the fun of making, decorating, & devouring these adorable & delicious cake pop treats!


Happy Baking!


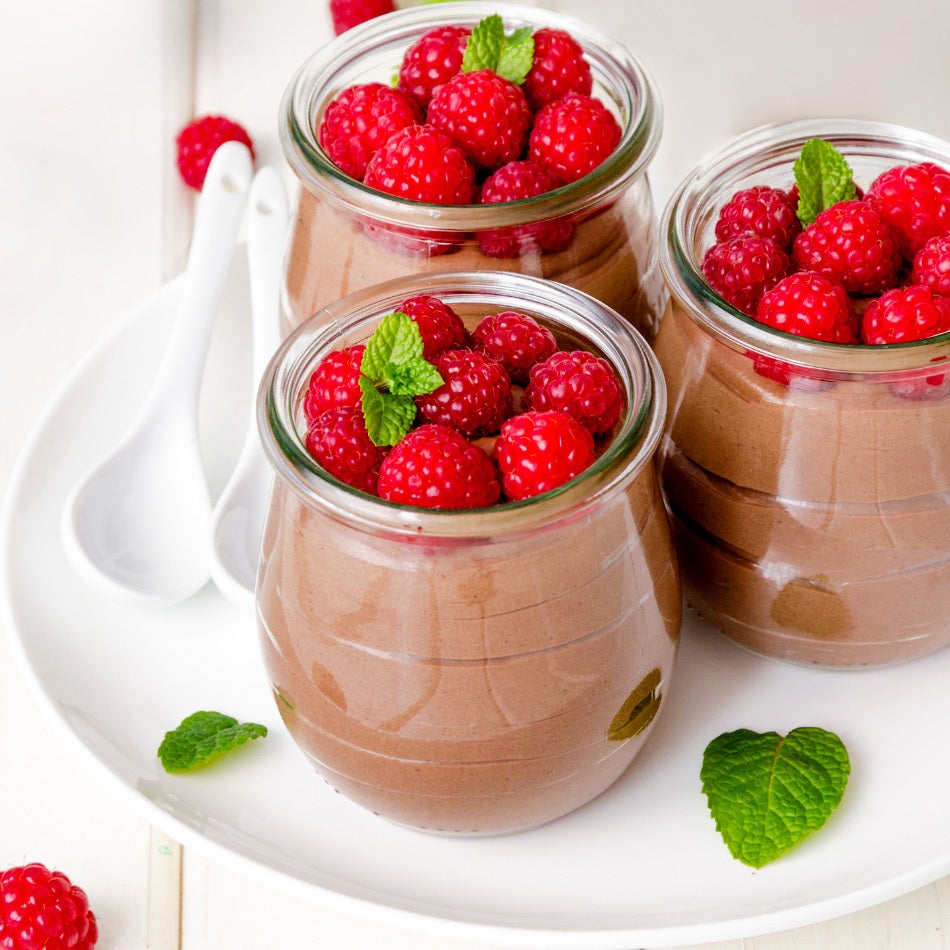
Dairy-Free Chocolate Mousse Recipe

Recently, there’s been a significant rise in the number of people adopting vegan diets, whether for health, ethical, or environmental reasons. As a result, the demand for vegan-friendly ingredients has skyrocketed. 

One ingredient that has captured the attention of vegan food enthusiasts around the world is dairy-free chocolate. With its rich & satisfying flavor, dairy-free chocolate has become a staple in vegan recipes, offering a delectable & cruelty-free alternative to traditional chocolate.

Vegan friendly chocolate is made without the use of any animal-derived ingredients, such as milk or butter, making it suitable for those following a dairy free or vegan diet. While some pure dark chocolates can be vegan on their own, some vegan chocolate is crafted using plant-based substitutes like almond milk, coconut milk, or soy milk. In the case of our very own  Eleven o’one Seventy Dark Couverture Chocolate, no ingredient is substituted as it's simply made from rich Belgian cocoa, sugar & cocoa butter (don’t worry, it's not really butter) is enough to ensure a delectable & creamy texture.


Today we’re going to teach you how to make a dairy-free chocolate mousse using a simple recipe. 


Dairy-Free Chocolate Mousse

Ingredients:

  • 1 cup Eleven o’one Sixty Dark Couverture Chocolate
  • 1 can (14 oz) coconut cream, refrigerated
  • Pinch of salt
  • 1/4 cup maple syrup or agave nectar (optional)
  • Fresh berries or mint leaves for garnish (optional)


Instructions:

  1. In a cold, metal mixing bowl, whip the cold coconut cream with a whisk until you form stiff peaks. It should look like a stiff whipped cream.
  2. Place the Eleven o’one Sixty Dark Couverture Chocolate in a microwave-safe bowl & melt it in the microwave using 30-second intervals, stirring in between, until smooth & fully melted. Alternatively, you can use a double boiler for melting the chocolate. Just be sure not to overheat the chocolate (110˚F max).
  3. Gently fold the melted chocolate with a rubber spatula into the whipped coconut cream until fully combined into a mousse consistency.
  4. Pour the mousse mixture into individual serving glasses or bowls. Cover them with plastic wrap & refrigerate for at least 1 hour.
  5. Once the mousse has set, remove it from the refrigerator. If desired, garnish each serving with fresh berries or mint leaves.
  6. Serve chilled  & enjoy your vegan dark chocolate mousse!


Pro Tips: 

  1. Refrigerate your metal bowl & mixer attachments overnight. Starting with a  cold bowl will help whip your coconut cream best!
  2. Experiment with additional flavors by adding a teaspoon of instant coffee or a dash of cinnamon to the mousse mixture before blending.


Dairy-free chocolate is a game-changer when it comes to vegan desserts. It can be melted & used as a luscious topping for cakes, cupcakes, & brownies, creating a velvety smooth finish that rivals traditional chocolate. We hope you enjoy this decadent & vegan-friendly dark chocolate dessert!

At Stover & Company we are regularly sourcing new products to add to our robust selection on our website. We recommend that you check back soon to see if we have added any more dairy free ingredients to the line up! 


Summertime Bliss Indulge in Delectable Chocolate Treats

Ah, summertime—the perfect season to enjoy the sunshine, embrace relaxation, & treat yourself to delightful, mouthwatering treats. When it comes to satisfying your sweet tooth during the warmer months, nothing quite beats the combination of chocolate, cookies, ice cream & cake!

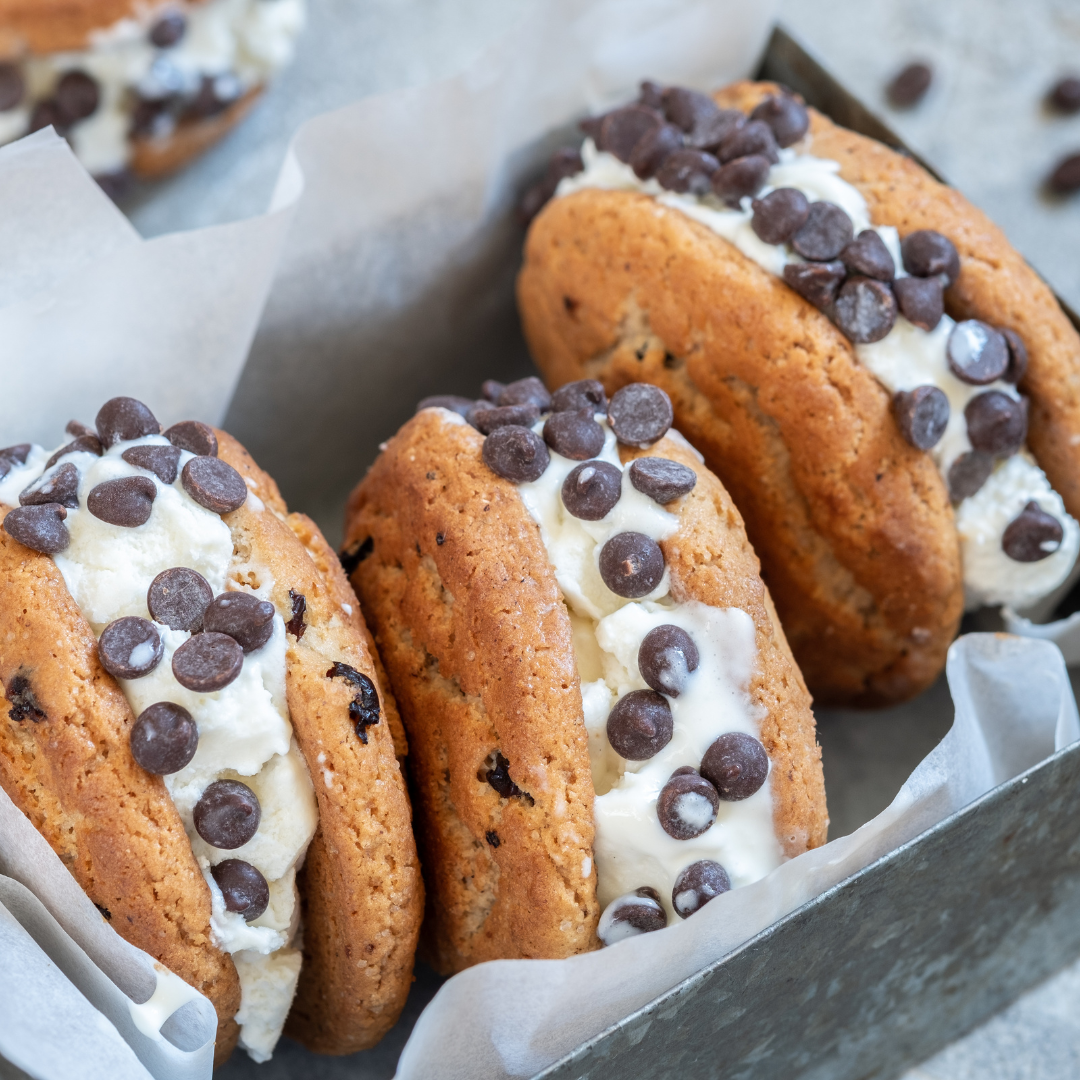
Chocolate Chip Ice Cream Sandwiches:


What better way to beat the summer heat than with a classic ice cream sandwich? Elevate this classic summertime treat by adding a generous sprinkle of Sweet Shoppe Semi-Sweet Chocolate Chips to the edges of your homemade cookies before sandwiching your favorite ice cream flavor between them. The combination of the chewy cookies, creamy ice cream, & delightful chocolate crunch will leave you craving more. Choose from traditional size chocolate chips or our mini size!


PRO TIP: Check out our favorite chocolate chip cookie recipe here!

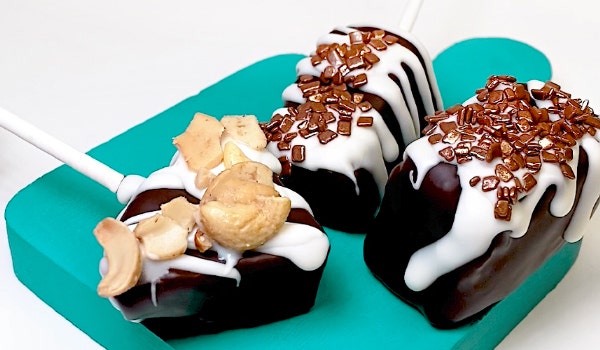
Triple Chocolate Covered Popsicles:

When the temperature rises, nothing cools you down quite like a refreshing popsicle. Take your icy indulgence to the next level by creating triple chocolate covered popsicles. Melt & combine our Eleven o’one Sixty Dark Couverture Chocolate, Eleven o’one Thirty Five Milk Couverture Chocolate, & Eleven o’one Thirty Three White Couverture Chocolate then dip your favorite flavored popsicle into each different type of chocolate, creating fun designs! As a final touch, drizzle over the popsicles with extra melted chocolate before freezing or dust with your favorite edible glitter! These rich, velvety treats are a chocolate lover's dream.

Chocolate Dipped Strawberries:

Looking for a sophisticated yet refreshing dessert for a summer soirée? Chocolate-dipped strawberries are an absolute crowd-pleaser. Don’t feel like tempering chocolate? Melt some Eleven o’one Deluxe Milk or Eleven o’one Deluxe Dark European Compound Coating, dip plump strawberries into the melted compound coatings, & allow them to set. For an extra touch of pizzazz, roll the dipped strawberries in colorful Sweet Shoppe Sprinkles or Sweet Shoppe Nonpareils. The combination of luscious chocolate & juicy strawberries creates a harmonious blend of flavors that epitomize summer luxury.

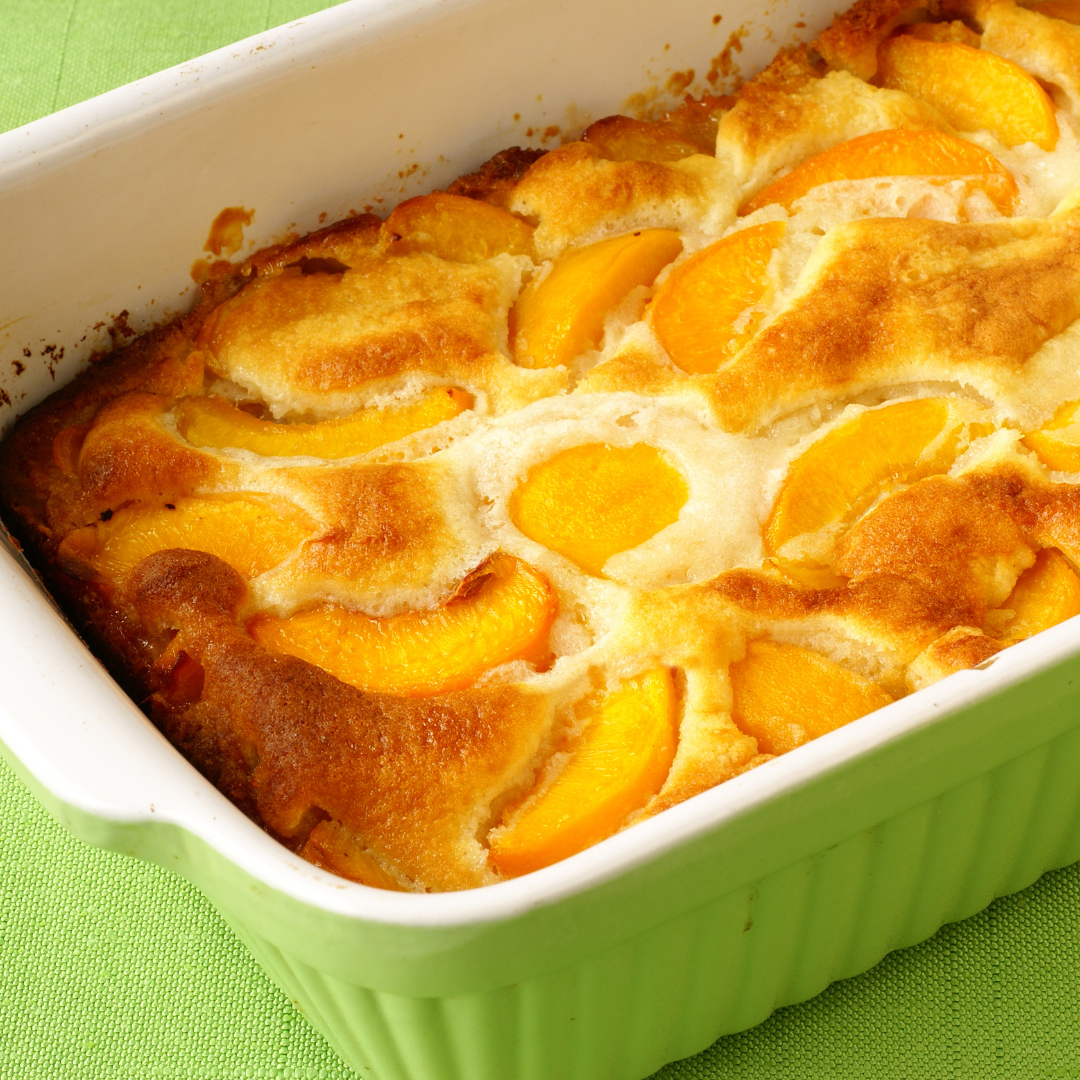
Cake Mix Cobbler:

Need to bring an easy dessert for a summer picnic? It doesn’t get easier than a cake mix cobbler! In a baking dish, combine your choice of cake mix (we love Pillsbury Baker’s Plus!) with canned fruit pie filling of your choice or Henry & Henry Crown Fillings (such as cherry, apple, or peach). Stir until the cake mix is evenly moistened & spread it out evenly in the dish. Bake for the recommended time on the cake mix package, or until the top is golden brown & bubbly. Serve warm with a scoop of vanilla ice cream for a comforting fruity dessert.

Whether you prefer a chocolate treat, a refreshing ice cream or bake a seasonal cake, don't resist the temptation—embrace the joy of summer indulgence & let your taste buds dance with delight!

Easy Chocolate Covered Pineapple Pops to Say Farewell to Summer

Chocolate Covered Pineapple

Still holding onto every last bit of summer? Then we have the perfect treat for you! This recipe for chocolate covered pineapple pops makes for a simple & sweet way to say farewell to summer. If you’ve never tried chocolate & pineapple together, boy are your tastebuds in for a treat! 

Read more

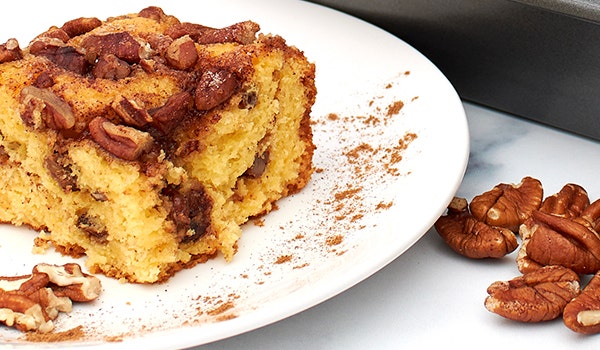
A Pecan Coffee Cake Recipe to Warm the Heart

Pecan Coffee Cake Recipe

Autumn is quickly approaching & it’s time to break out your cinnamon, pecans & pumpkin spice to embrace this cozy season. Nothing warms our heart quite like a family fall recipe. Here's one from our family archives that’s sure to be a hit at your next family event: Pecan Coffee Cake!

Read more

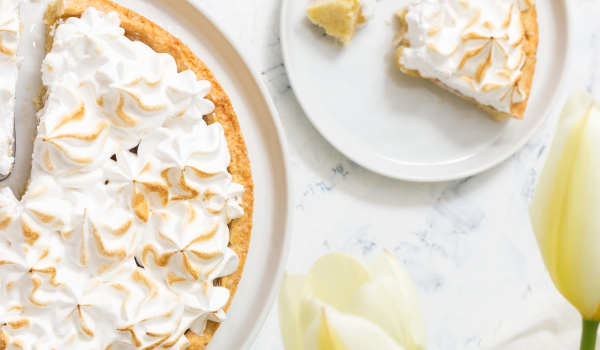
Light & Refreshing Lemon Pie Recipe For Memorial Day

Lemon Pie

Memorial Day is coming up & while we want to make all red, white & blue themed treats, we are holding off on those until July! However, we have the perfect light, refreshing pie recipe that will be a hit at the Memorial Day Picnics! 

Read more

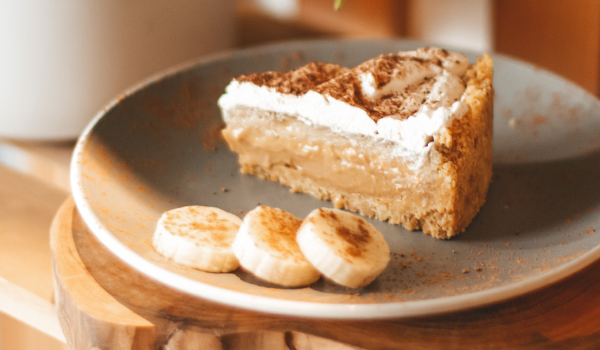
Spring Banana Cake Recipe with Delicious Glaze

Banana Cake Recipe

This banana cake with cake mix is the perfect quick fix to your favorite treat! If you’re in the mood to make banana cake, but don’t want the strenuous clean-up that comes after baking, just make one using a cake mix! Just because this is a short recipe, doesnt mean this is not a homemade-like this banana cake is extremely moist, tender, and full of banana flavor.

Read more

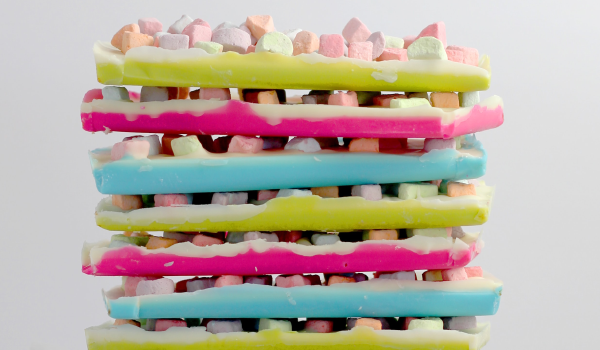
Easter Bark Recipe Using Eleven o'One European Chocolate

Easter Chocolate Bark

Easter Chocolate Bark is the perfect chocolate treat to make this spring. It's delectable, rich and just super cute! This recipe is made with little prep time and a handful of ingredients. Plus, it's a no bake recipe that is great to make with the whole family. Customize your toppings to include your favorite Easter sprinkles, candy and much more!

Read more

Spring/Summer Recipe: Lemon Pound Cake

Lemon Pound Cake Recipe

Whether it's for a spring fling party or summer picnic this lemon pound cake recipe is the perfect treat! As a dense, moist and rich lemon flavor, it's the perfect dessert that can be enjoyed by everyone. 

Read more

connect with us