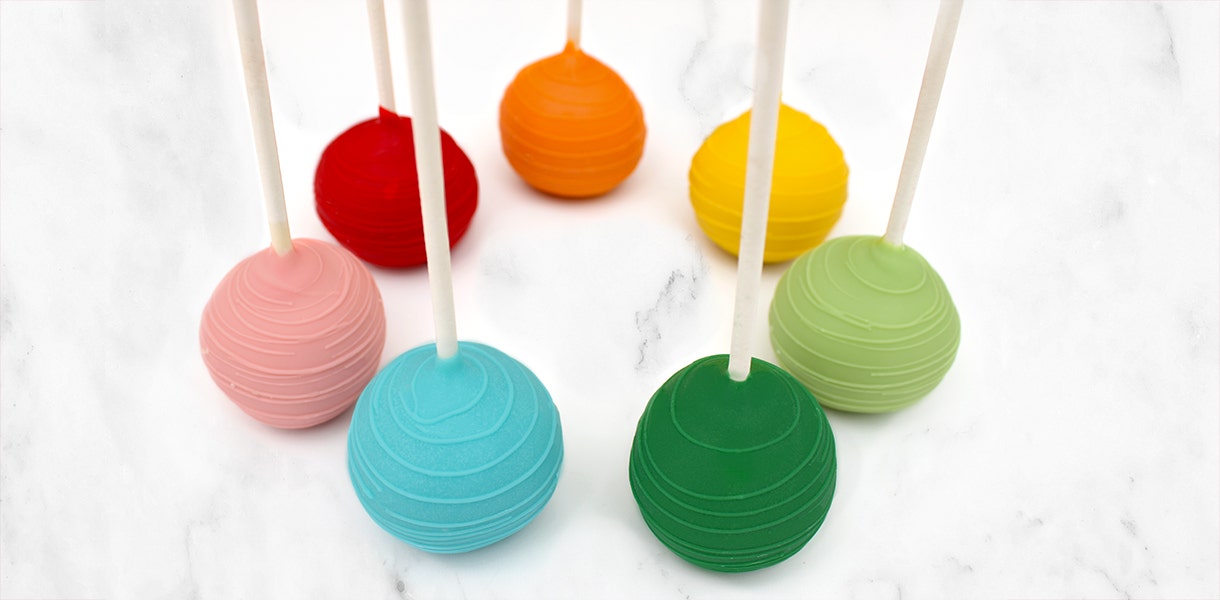
Rainbow Cake Pop Recipe using Sweet Shoppe Colored Wafers
- Aug 14, 2023
Cake pops are the perfect combination of adorable & delicious treats that are sure to impress at any event. With a pop of color from our new Sweet Shoppe Colored Wafers, these cake pops become even more delightful & eye-catching. Whether you're preparing specialty cake pops for a birthday party, baby shower, or just making a fun dessert, this easy to follow recipe will guide you through creating sweet bites of happiness.
Ingredients:
- 1 prepared cake (flavor of your choice)
- Sweet Shoppe Colored Wafers (assorted colors)
- Sweet Shoppe Sprinkles or Sweet Shoppe Sanding Sugar (optional, for decoration)
Equipment:
- Stand mixer
- Mixing bowls
- Rubber spatulas
- Baking pan/Cookie Sheet
- Parchment paper
- Aluminum foil
- Plastic Wrap
- Cake pop or lollipop sticks
- Microwave-safe bowl
- Food Processor (optional)
- Small plastic bags or piping bags (for drizzling)
- Cake pop stand or styrofoam block
Instructions:
Step 1: Prepare the Cake:
- Bake your chosen cake according to the recipe or package instructions.
- As soon as your cake comes out of the oven, cover it tightly with aluminum foil for 10 minutes.
PRO TIP: When you trap the natural steam in with the cake, it will help keep things moist enough to create your cake pops without adding frosting. - After 10 minutes have passed, *carefully* uncover your cake (it will be hot!)
- Add large pieces of cake into the bowl of your stand mixer or in a food processor.
PRO TIP: If you're using a stand mixer, use the paddle attachment for this step. - Using your mixer, slowly crumble the cake until you form a large doughy ball.
- Carefully (it will be hot) wrap the dough ball with plastic wrap & let it cool completely.
PRO TIP: We recommend letting it cool overnight.
Step 2: Shape the Cake Balls:
- Using your hands, or a small cookie scoop, weigh out the dough into approximately 1.1oz portions.
- Roll out the dough into even balls using firm pressure.
- Place the cake balls onto a baking sheet lined with parchment paper & cover with plastic wrap to avoid drying out the dough.
Step 3: Melt Sweet Shoppe Colored Wafers:
- Melt your Sweet Shoppe Colored Wafers in a microwave-safe bowl.
PRO TIP: Check out this post or watch this video for step by step instructions. - Stir the compound coating wafers until they are smooth & fully melted.
- Use a thermometer to make sure you do not overheat your Sweet Shoppe Coating Wafers. Your Coating Wafers should never be heated over 90ºF.
Step 4: Dip & Decorate:
- Dip the tip of a cake pop stick into your melted compound coating & insert your cake pop stick about halfway into a chilled cake ball.
- Let it dry to secure the cake pop to the melted compound coating, making sure to create a full coverage coating. Gently tap off any excess compound chocolate.
- With a scribe or a toothpick, pop any air bubbles before the Sweet Shoppe Coating Wafers dry.
PRO TIP: popping air bubbles reduces the risk of your cake pops cracking once they dry! - If decorating with Sweet Shoppe sprinkles or Sweet Shoppe sanding sugar, you must act quickly before the cake pop dries completely so they will stick properly.
Step 5: Drizzle & Decorate:
- Melt different colored Sweet Shoppe Coating Wafers & pour them into small plastic bags or piping bags.
PRO TIP: make sure your piping chocolate is not too hot, as piping with hot compound coatings will make your cake pops crack! - Cut a small hole in the corner of the bag & drizzle the compound coatings over the cake pops to create a drizzle design.
- Immediately sprinkle with decorative Sweet Shoppe sprinkles or Sweet Shoppe sanding sugar before the coating sets.
Step 6: Let Dry:
- Insert the other end of your cake pop stick into a styrofoam block or cake pop stand to allow the coating to set without creating a flat top. Sweet Shoppe Compound Coatings only take a couple of minutes to dry.
Step 7: Let the Cake Pops Set:
- Allow the cake pops to fully set & harden before serving or packaging.

These cake pops coated with Sweet Shoppe Colored Wafers are a burst of color & flavor that will delight both kids & adults alike. With a bit of creativity & a handful of ingredients, you can create a stunning array of cake pops or dipped treats that will steal the show at any gathering. Enjoy the fun of making, decorating, & devouring these adorable & delicious cake pop treats!
Happy Baking!
