Tagged with 'sweet shoppe coating wafers'

RECIPE: Chocolate Cupcakes with Salted Caramel Ganache


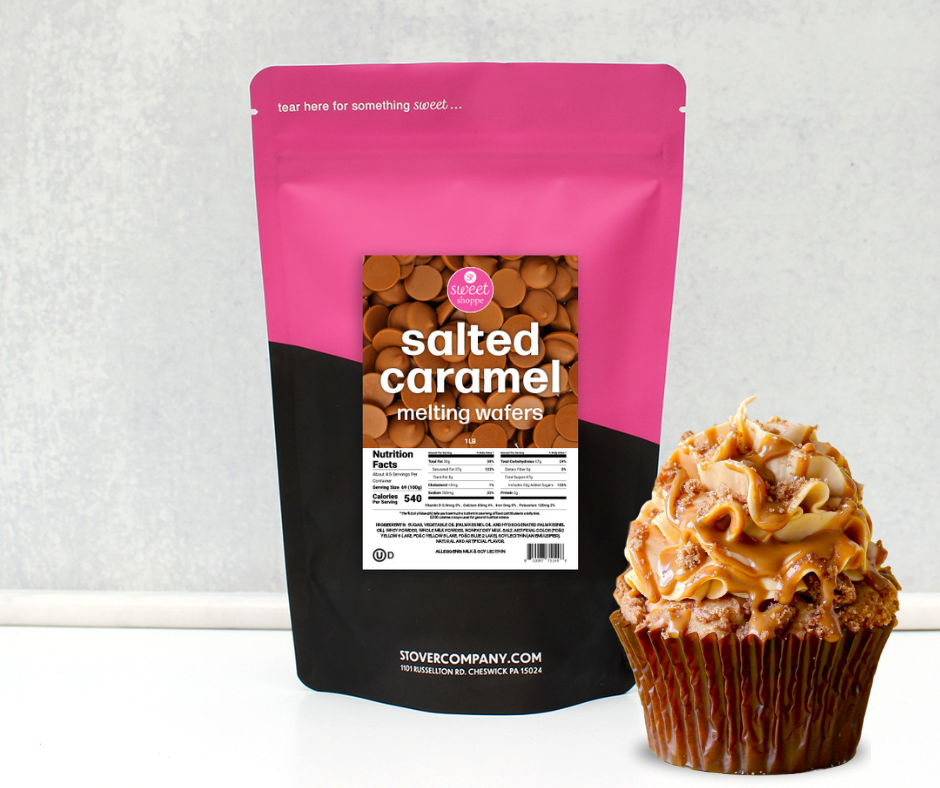
Indulge in the ultimate chocolate & caramel lover's dream with this decadent Chocolate Cupcake recipe topped with a luscious Salted Caramel Ganache! We’ll be making the ganache from scratch using our our *NEW* Sweet Shoppe Salted Caramel Melting Wafers!

Moist chocolate cake topped with a decadent salted caramel ganache to create a dessert that's sure to impress! 

Let's dive into the recipe & create this chocolate masterpiece!

Ingredients:

For the Chocolate Cupcakes:

For the Salted Caramel Ganache:

Instructions:

For the Chocolate Cupcakes:

  1. Preheat your oven to 350°F (175°C). Prepare a cupcake pan with liners.
  2. In a large mixing bowl, sift together the flour, sugar, cocoa powder, baking powder, baking soda, & salt.
  3. Add the eggs, milk, vegetable oil, & vanilla extract to the dry ingredients. Mix until well combined.
  4. Gradually add the hot water to the batter, stirring until smooth. The batter will be thin, but that's okay.
  5. Divide the batter evenly between the prepared cupcake liners, filling them halfway.
  6. Bake in the preheated oven for18-20 minutes, or until a toothpick inserted into the center comes out clean.
  7. Remove the pans from the oven & let the cupcakes cool completely.

For the Salted Caramel Ganache:

  1. In a heatproof bowl, combine the Sweet Shoppe Salted Caramel Melting Wafers & heavy cream.
  2. Microwave the mixture in 30-second intervals, stirring between each interval, until the wafers are completely melted & the ganache is smooth. About 2 or 3 total intervals.
  3. Let the ganache cool for a few minutes to thicken slightly.
  4. Take ½ of the ganache & transfer it to a glass bowl & refrigerate for 10 minutes to make a thicker consistency for the filling. 

Decorate:

  1. Once the cupcakes have cooled, it's time to decorate them!
  2. Grab your thicker caramel ganache & using a piping bag, top each cupake with firm caramel ganache as if it were frosting.
  3. With your thinner ganache, pour it in a squeeze bottle or use a spoon, create drops or drizzle on the top edge of your piped cupcakes.
  4. If desired, sprinkle sea salt flakes or our eleven o’one Salted Caramel Flakes over the caramel ganache for an extra burst of flavor.
  5. Unwrap your Salted Caramel Chocolate Cupcakes, & enjoy every rich & decadent bite!

Perfect for special occasions or simply satisfying your chocolate cravings, these cupcakes  are sure to be showstoppers!

How to Create Christmas Hot Cocoa Bombs

We are feeling the holiday spirit at Stover & Company! What better way to cozy up than with a warm cup of hot chocolate made from a rich, chocolatey hot cocoa bomb! 


It’s no secret that hot cocoa bombs have taken over the holiday season year after year! Whether you’re a seasoned professional who creates cocoa bombs in their sleep, or you’re a beginner looking for step by step instructions to make your own, we’re here to walk you through the process & share some pro-tips.


Watch Alicia, our Brand & PR Specialist, whip up some adorable Christmas Tree Hot Cocoa Bombs with ease thanks to our Sweet Shoppe Forest Green Coating Wafers!


Ready to make your own hot cocoa bombs? 


Here’s what you’ll need:

Instructions:


  1. If you are using a silicone candy mold, we suggest cutting your silicone mold into individual half spheres as it’s easier to coat the inside of the sphere mold if they are separated. 
  2. Make sure your candy molds are clean & dry. Even the smallest amount of water or moisture can ruin your chocolate or compounds. Any dry water spots on your candy mold can make your hot cocoa bombs dull.

    If you’re using a silicone mold: Wash candy mold with warm soapy water & let fully dry. Put your candy molds in a preheated oven to 200ºF for a few minutes to ensure all moisture is removed to help eliminate any water spots. Make sure you let cool before making your hot cocoa bombs.  

    If you are using a 3 part mold: Hand wash & dry all three pieces of your candy mold. Once dry, polish your candy molds using a high proof alcohol & a paper towel to get a nice shiny finish.
    PRO TIP: NEVER put your candy molds in the dishwasher.
  3. Melt your Sweet Shoppe Forest Green Coating Wafers. Check out this video on how Alicia melts hers or check out this handy blog post.

    If using a silicone mold: pour a small amount of melted Sweet Shoppe Forest Green Coating Compound into your candy mold. Use your spatula to spread the compound coating until the candy mold is fully covered. Swirl your coating around if needed to get even coverage. Let set then add a second coat.

    If using a 3 part mold: pour a small amount of melted Sweet Shoppe Forest Green Compound in your candy mold to the designated fill line. Place the insert portion on top of the compound then add the top side of the mold, pressing down until your compound chocolate has evenly spread throughout the mold.
    PRO TIP: Make sure to clean the edges of your mold with your spatula between coats to ensure your edges are set nice & flat.
  4. Pop your candy molds in the freezer for about 1-2 minutes to help the chocolate set quickly & ensure your chocolate pieces release properly.
    PRO TIP:  It’s important that your candy molds are not cold when adding chocolate. If you plan to reuse your candy mold to create additional cocoa bombs, we recommend warming your candy molds to room temperature prior to use.
  5. While your sphere candy molds are chilling in the freezer, it’s time to create your chocolatey decorations! Grab the rest of your melted Sweet Shoppe Forest Green Compound Coating & pour into a Christmas Tree candy mold, or any candy mold of your choice!
  6. Pop your decoration candy molds into the freezer for about 1-2 minutes to help your decorations set quickly.
  7. While your chocolate decorations harden, remove your sphere molds from the freezer & gently unmold your chocolate pieces.

    PRO TIP: gently pull your silicone molds away from the sphere starting around the edges first. Once the edges have been released, put your hand inside of the sphere for some leverage & gently peel the candy mold back. This method should result in a shiny half sphere. 
  8. Heat up an empty ceramic plate in the microwave for about 2 minutes.
  9. Quickly & gently, place half of your chocolate domes (one by one) with the edges face down, on your warm plate. This process will slightly melt any uneven edges, resulting in nice, flat & even edges that will be easier to adhere together. 
  10. Add approximately 2 TBSP of hot cocoa mix into one half of each sphere & top with marshmallows, sprinkles, edible glitter or whatever fun surprises you want to add inside your hot cocoa bomb! 

    PRO TIP: Place hot cocoa bomb shells in cupcake liners before assembling to eliminate clean up. 

  11.  Using the same warm plate, smooth out the edges to the remaining domes one by one, & while they are melted, adhere the top of the hot chocolate bomb to the filled side like a lid. 

  12. Unmold your hardened Christmas Tree decorations & use some melted compound to adhere these chocolate creations to the top of your hot cocoa bombs.

  13. Use your favorite brand of sprinkles, or even more chocolate, to decorate your tree or finish off your minimalistic look with a simple drizzle.

  14. Let hot cocoa bombs fully harden before packaging. 

TIPS & TRICKS: 

  • Three part candy molds tend to be easier to work with + they require less chocolate than with silicone molds.
  • There are many different shapes & sizes for hot cocoa bomb molds, so be creative. Standard size is usually 70mm or 2.5 - 3 inches.To avoid fingerprints on your hot cocoa
  • bombs, use cotton gloves when handling your chocolate pieces.
  • Sweet Shoppe Compound Coating Wafers are perfect for adding a splash of color to your hot cocoa bombs.
  • If you are looking for a rich flavor profile & thin consistency without having to temper, we suggest using our Eleven o’one Deluxe European Compound Coatings
  • Want to skip the coating wafers & use real chocolate? We recommend trying our Eleven o’one European Couverture Chocolates. 
    If you’re using real couverture chocolate, there is no need to add hot cocoa mix. You can simply fill the spheres with marshmallows & goodies, letting the chocolate speak for itself.

We love seeing your creations! Be sure to tag us in your treat photos or videos or post them in our Facebook Group: Stover’s Confection Connection


INTRODUCING: Sweet Shoppe in Lotus Pink

Surprise! 


We’ve launched a NEW addition to our Sweet Shoppe Colored Wafers Collection!


INTRODUCING LOTUS PINK


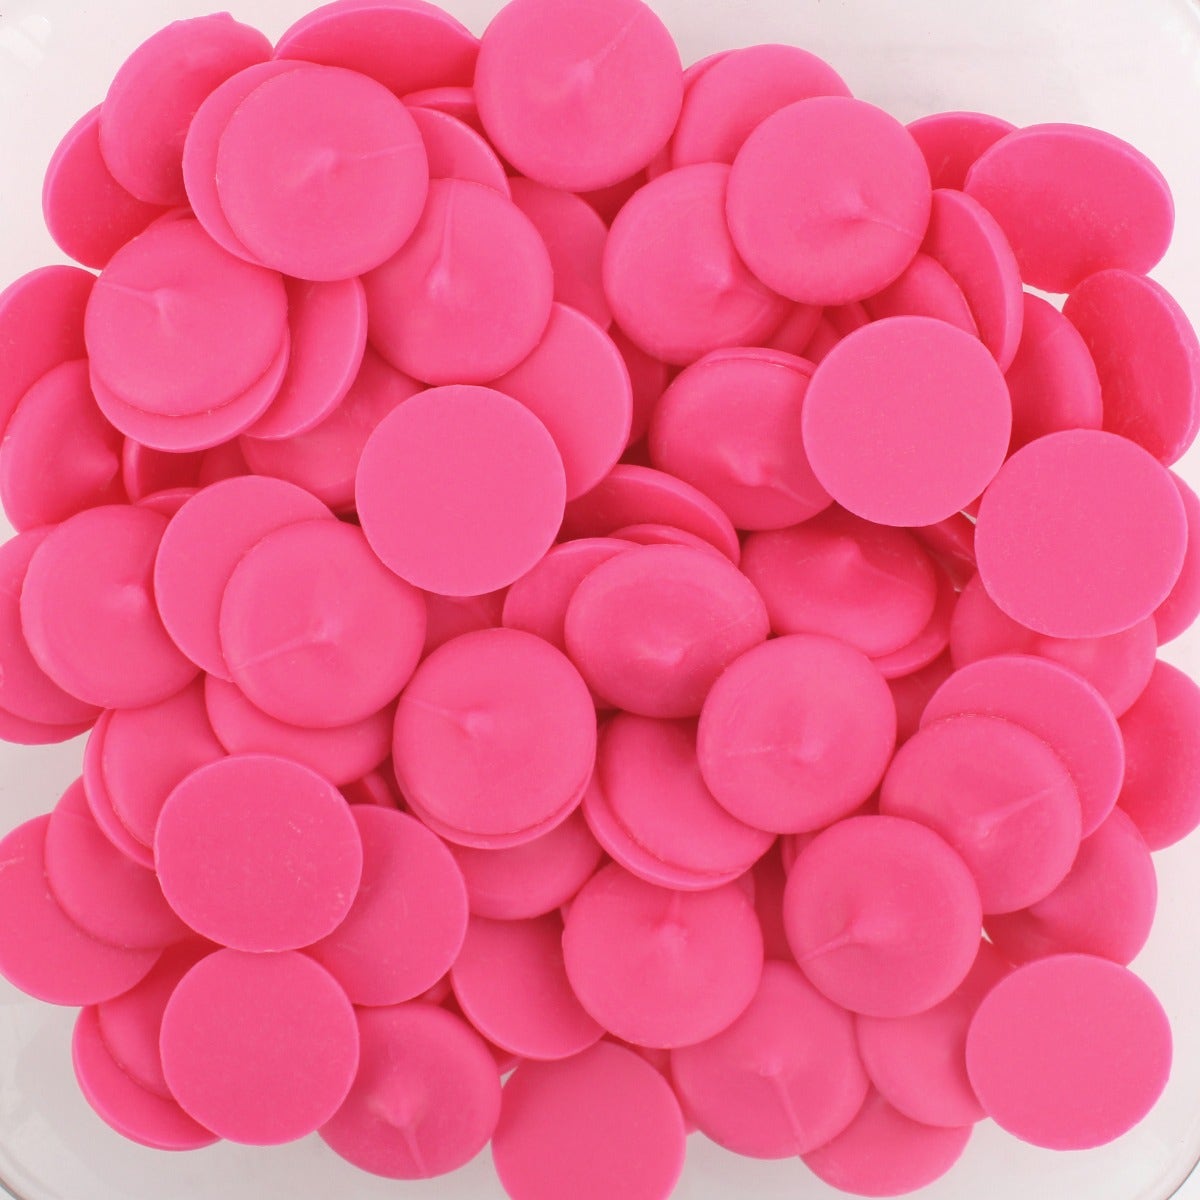
Imagine the perfect shade of Sweet Shoppe Pink, a bold, hot pink add a pop of color amongst your treat palette! Lotus Pink invites you to coat your treats with a burst electrifying vibrancy! 


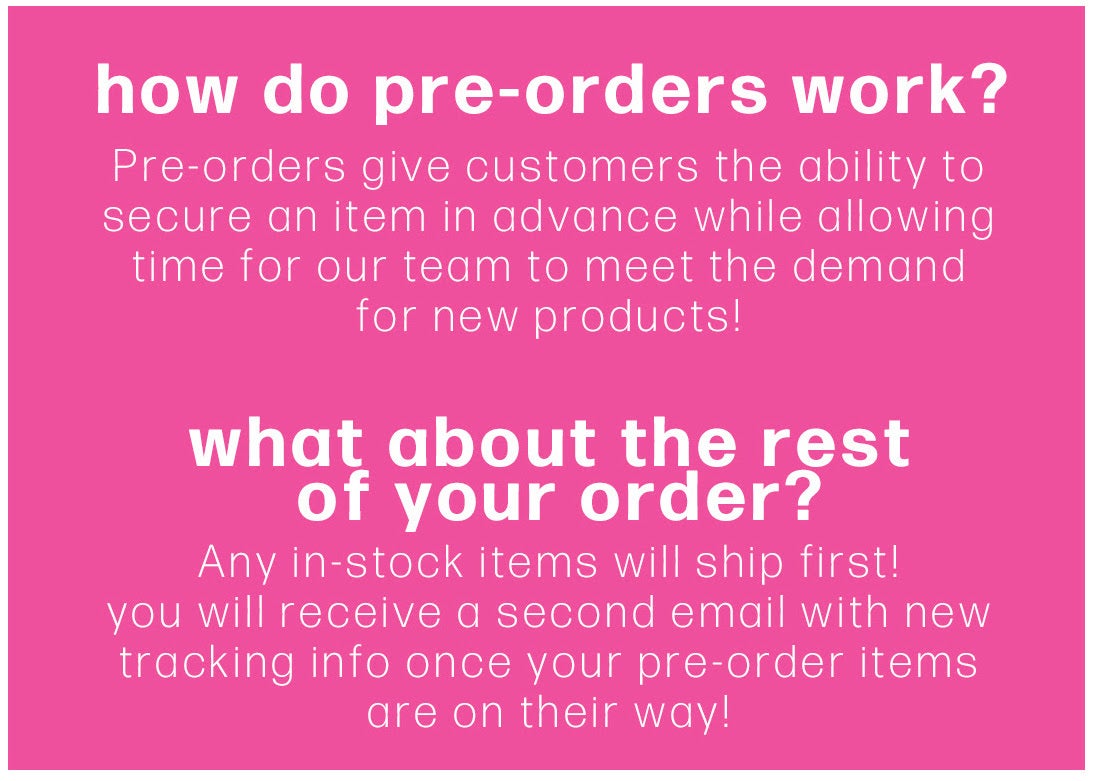
Pre-order your Sweet Shoppe Lotus Pink today to secure this hot pink sensation! Orders are estimated to ship around December 11th, arriving just in time for your pink holiday baking spree!


For more questions please visit our FAQ page or our customer service team at info@stovercompany.com or at (724) 274-6314


Don’t miss out on being among the first to get your hands on Lotus Pink & add it to your collection of Sweet Shoppe Coating Wafers!


Enjoy the crisp taste of Fall with our Seasonal Favorites!

As the leaves turn vibrant shades of red, orange & yellow, & the air grows cooler, there’s no denying that fall is in the air. It’s a season of cozy sweaters, warm beverages &, of course, delicious treats that capture the essence of autumn. At Stover & Company, we’re excited to share our fall essentials with you. From warm spices of ground cinnamon to rich flavors of Peter’s Caramel loaf, we have everything you need to savor the taste of fall. So let’s dive into our seasonal favorites!


Ground Cinnamon


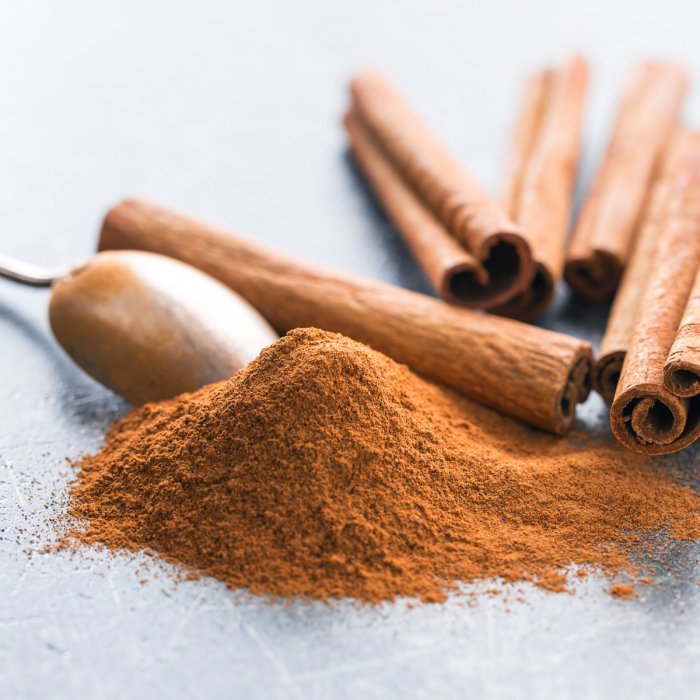
Fall wouldn’t be complete without the comforting aroma & flavor of cinnamon. Ground Cinnamon is a versatile spice that can be used in both sweet & savory dishes. Whether you’re making apple pies, pumpkin bread, or spiced lattes, our high quality ground cinnamon will infuse your recipes with that quintessential fall warmth. 


Autumn Ambers Bundle


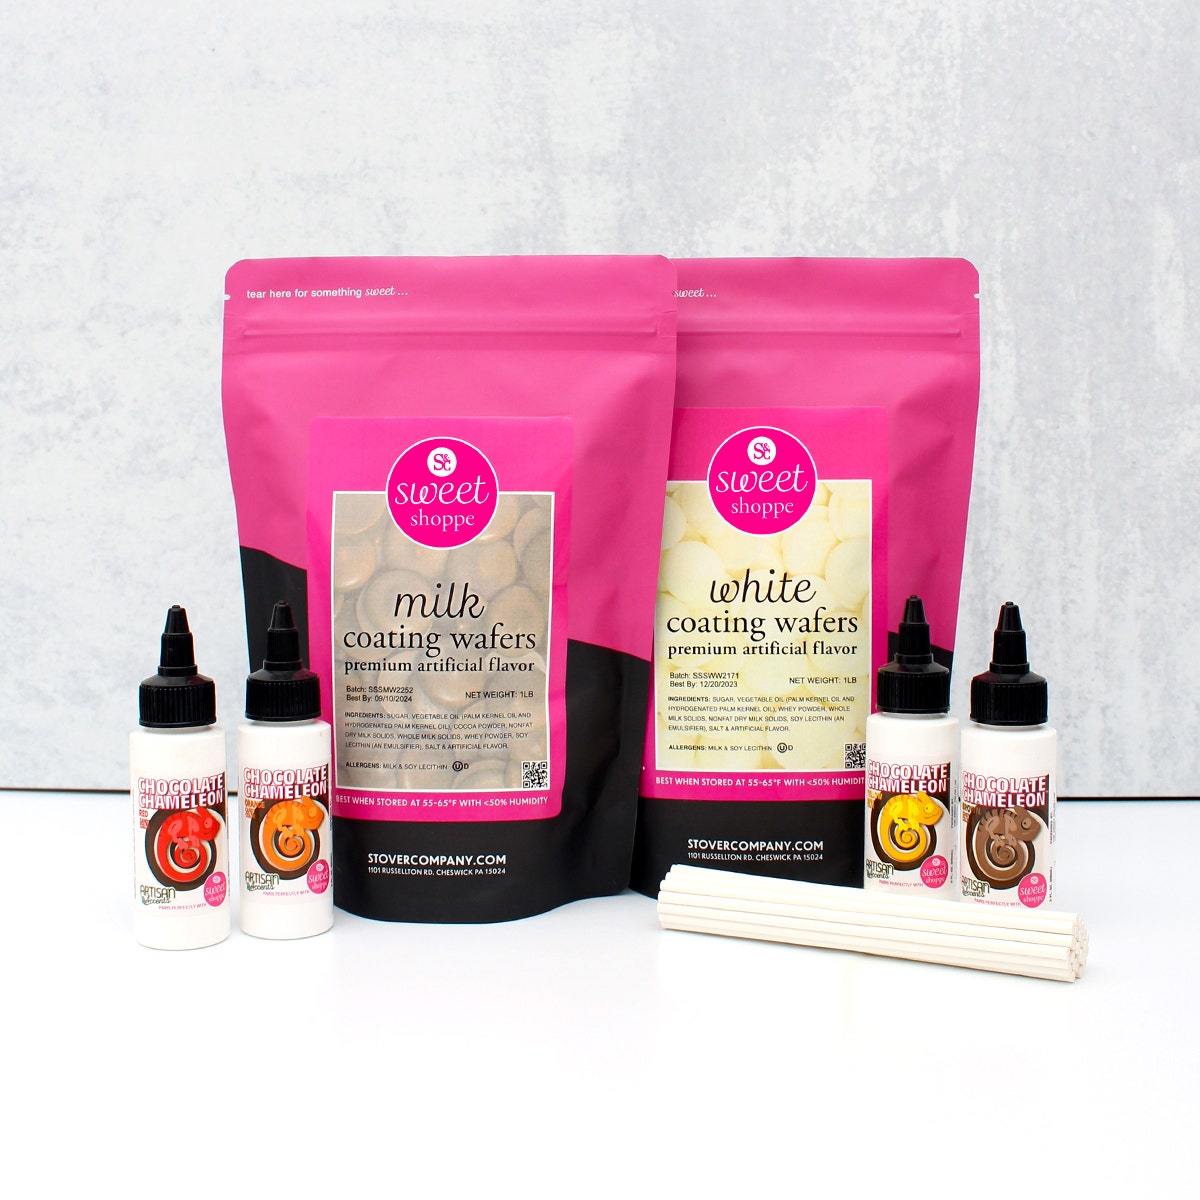
Our Autumn Ambers Bundle is a must-have for any fall enthusiast baker! This product bundle includes Sweet Shoppe Milk & White Coating Wafers, cake pop sticks & Artisan Accent’s Chocolate Chameleon oil-based colors in yellow, orange, red & brown. Dip your favorite snacks, fruits or cake pops into the creamy Sweet Shoppe Coating Wafers & use the vibrant Chocolate Chameleon colors to add a touch of autumn to your treats. Your desserts will not only taste amazing, but also look picture perfect for your fall celebrations!


Peter’s Caramel Loaf


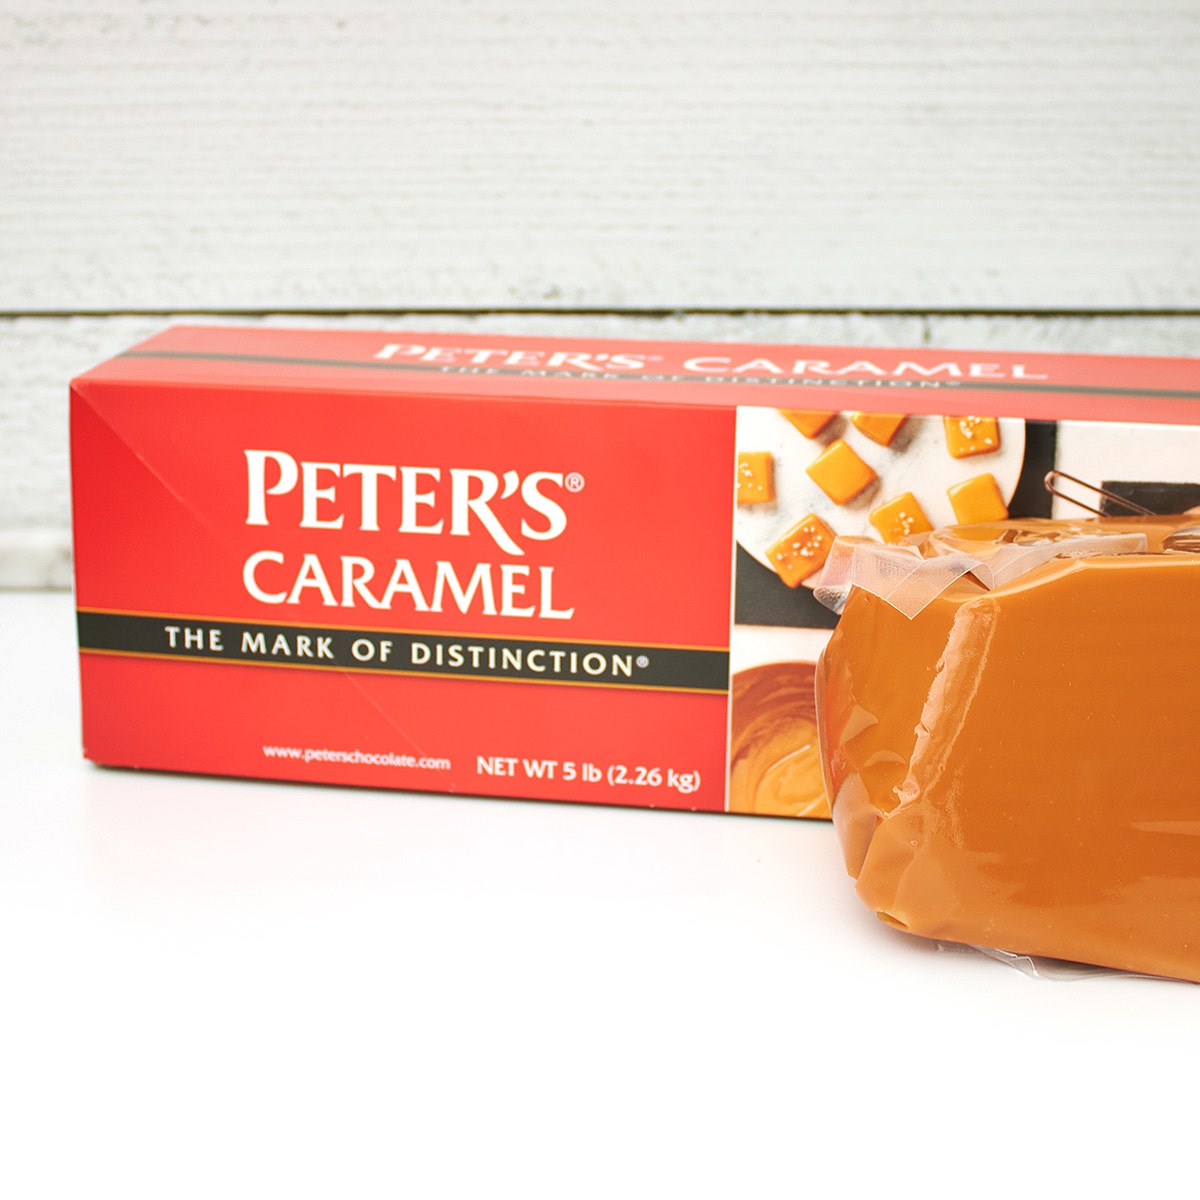
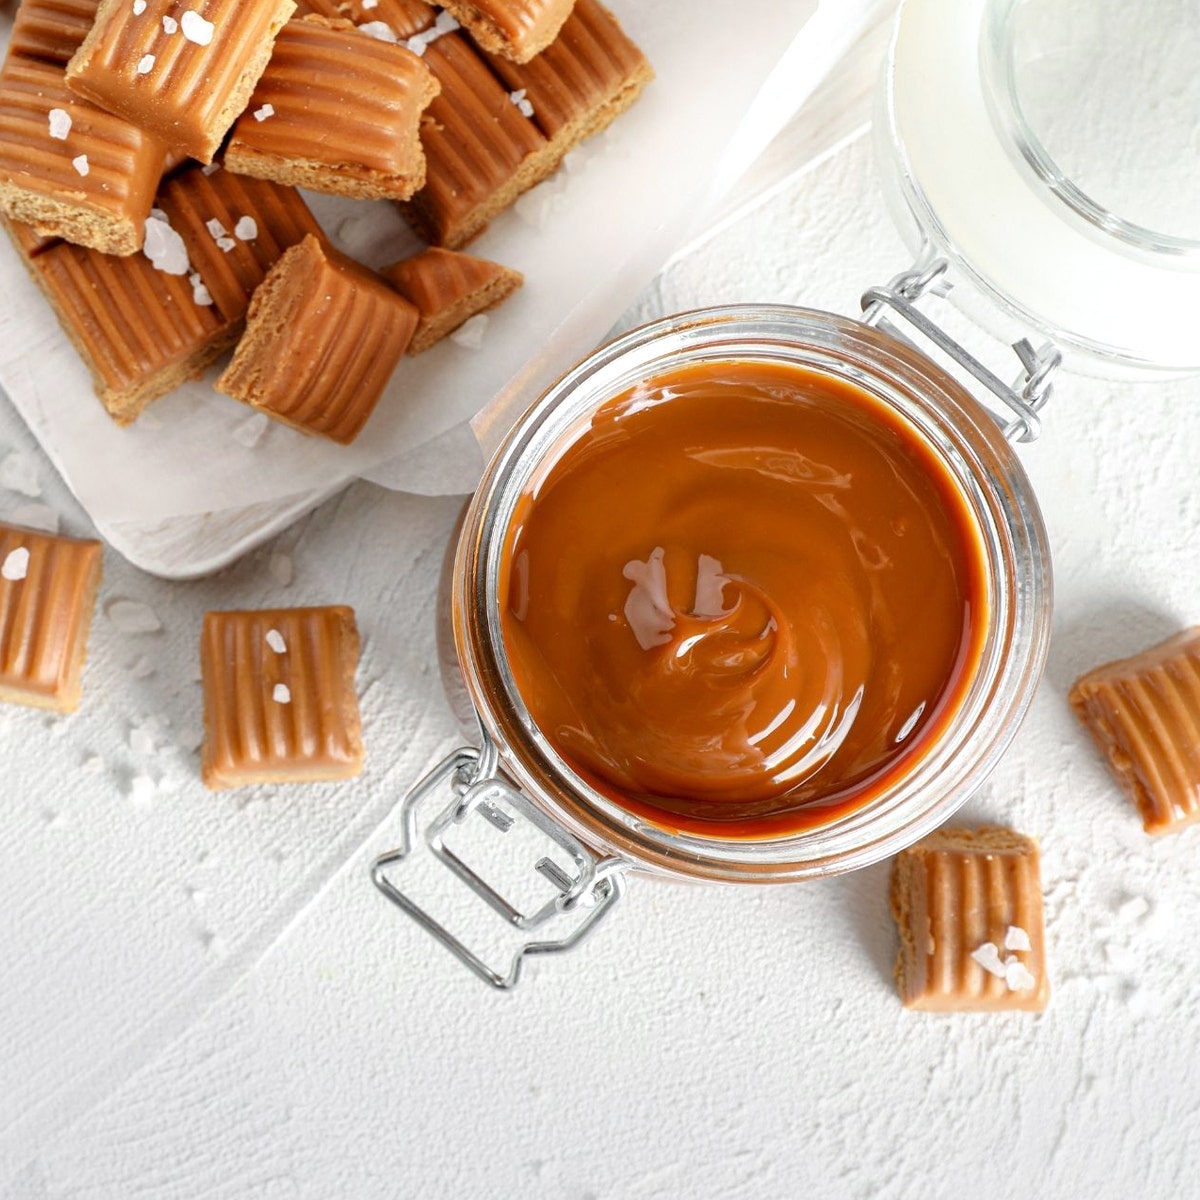
Peter’s Caramel loaf is a game-changer when it comes to making caramel apples, turtles or chocolate-coated caramel candies. This premium caramel has a rich, buttery flavor that perfectly complements the sweetness of autumn. Simply melt it down & sip your apples, nuts or candies. Check out this post for further instructions on how to melt Peter’s Caramel Loaf.


Pumpkin Puree


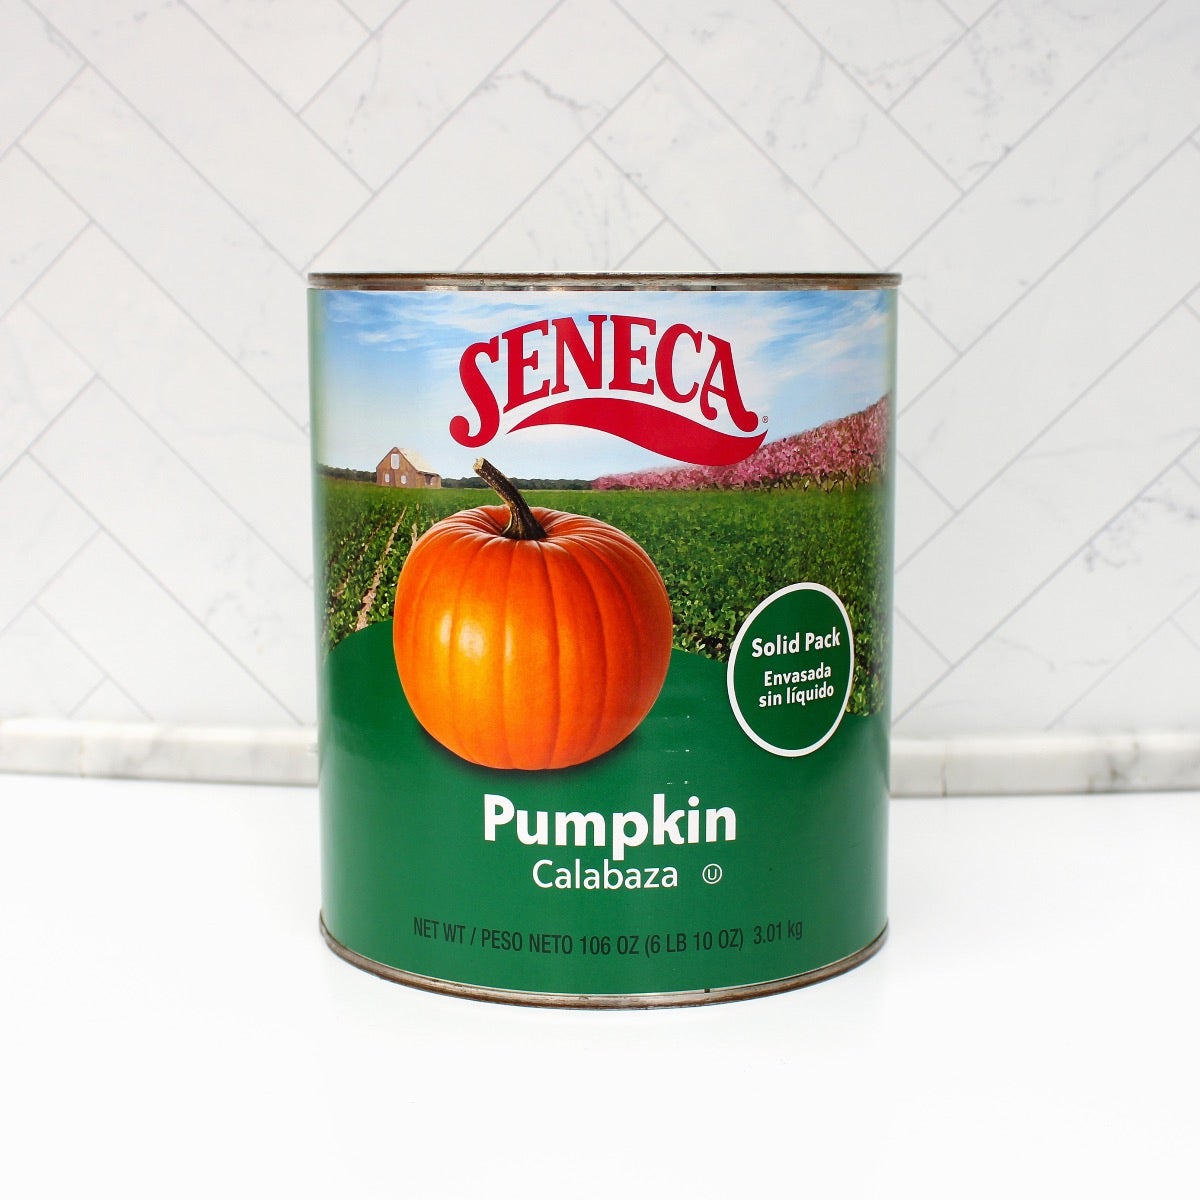
Pumpkin Puree is the essence of fall in a can! Some might argue that this is fall’s #1 ingredient. Whether you’re whipping up pumpkin pies, muffins, or soups, our high-quality pumpkin puree is a convenient choice that captures this season’s flavor. It’s smooth, flavorful & perfect for creating those classic fall recipes that warm the heart & soul. 


We love to see what you all create! Tag is your fall related treat posts:

Instagram: @stoverandcompany

Facebook: @stovercompanybaking

Facebook Group: Stover’s Confection Connection 

Tiktok: @stoverandcompany


Happy Fall baking!


Rainbow Cake Pop Recipe using Sweet Shoppe Colored Wafers

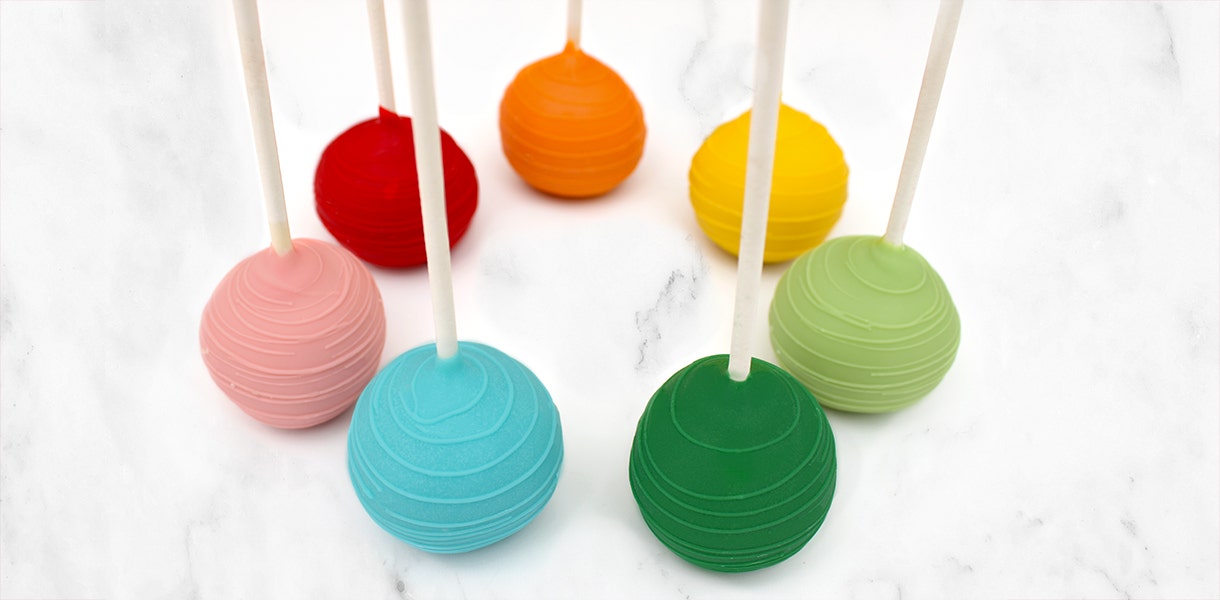
Cake pops are the perfect combination of adorable & delicious treats that are sure to impress at any event. With a pop of color from our new Sweet Shoppe Colored Wafers, these cake pops become even more delightful & eye-catching. Whether you're preparing specialty cake pops for a birthday party, baby shower, or just making a fun dessert, this easy to follow recipe will guide you through creating sweet bites of happiness.

Ingredients:


Equipment:

  • Stand mixer
  • Mixing bowls
  • Rubber spatulas
  • Baking pan/Cookie Sheet
  • Parchment paper
  • Aluminum foil
  • Plastic Wrap
  • Cake pop or lollipop sticks
  • Microwave-safe bowl
  • Food Processor (optional)
  • Small plastic bags or piping bags (for drizzling)
  • Cake pop stand or styrofoam block


Instructions:

Step 1: Prepare the Cake:

  1. Bake your chosen cake according to the recipe or package instructions.
  2. As soon as your cake comes out of the oven, cover it tightly with aluminum foil for 10 minutes. 
    PRO TIP: When you trap the natural steam in with the cake, it will help keep things moist enough to create your cake pops without adding frosting.
  3. After 10 minutes have passed, *carefully* uncover your cake (it will be hot!)
  4. Add large pieces of cake into the bowl of your stand mixer or in a food processor.
    PRO TIP: If you're using a stand mixer, use the paddle attachment for this step. 
  5. Using your mixer, slowly crumble the cake until you form a large doughy ball.
  6. Carefully (it will be hot) wrap the dough ball with plastic wrap & let it cool completely. 
    PRO TIP: We recommend letting it cool overnight. 


Step 2: Shape the Cake Balls:

  1. Using your hands, or a small cookie scoop, weigh out the dough into approximately 1.1oz portions.
  2. Roll out the dough into even balls using firm pressure.
  3. Place the cake balls onto a baking sheet lined with parchment paper & cover with plastic wrap to avoid drying out the dough.

Step 3: Melt Sweet Shoppe Colored Wafers:

  1. Melt your Sweet Shoppe Colored Wafers in a microwave-safe bowl.
    PRO TIP: Check out this post or watch this video for step by step instructions.
  2. Stir the compound coating wafers until they are smooth & fully melted.
  3. Use a thermometer to make sure you do not overheat your Sweet Shoppe Coating Wafers. Your Coating Wafers should never be heated over 90ºF.


Step 4: Dip & Decorate:

  1. Dip the tip of a cake pop stick into your melted compound coating & insert your cake pop stick about halfway into a chilled cake ball.
  2. Let it dry to secure the cake pop to the melted compound coating, making sure to create a full coverage coating. Gently tap off any excess compound chocolate.
  3. With a scribe or a toothpick, pop any air bubbles before the Sweet Shoppe Coating Wafers dry. 
    PRO TIP: popping air bubbles reduces the risk of your cake pops cracking once they dry!
  4. If decorating with Sweet Shoppe sprinkles or Sweet Shoppe sanding sugar, you must act quickly before the cake pop dries completely so they will stick properly. 

Step 5: Drizzle & Decorate:

  1. Melt different colored Sweet Shoppe Coating Wafers & pour them into small plastic bags or piping bags.
    PRO TIP: make sure your piping chocolate is not too hot, as piping with hot compound coatings will make your cake pops crack!
  2. Cut a small hole in the corner of the bag & drizzle the compound coatings over the cake pops to create a drizzle design.
  3. Immediately sprinkle with decorative Sweet Shoppe sprinkles or Sweet Shoppe sanding sugar before the coating sets.

Step 6: Let Dry:

  1. Insert the other end of your cake pop stick into a styrofoam block or cake pop stand to allow the coating to set without creating a flat top. Sweet Shoppe Compound Coatings only take      a couple of minutes to dry.

Step 7: Let the Cake Pops Set:

  1. Allow the cake pops to fully set & harden before serving or packaging.

These cake pops coated with Sweet Shoppe Colored Wafers are a burst of color & flavor that will delight both kids & adults alike. With a bit of creativity & a handful of ingredients, you can create a stunning array of cake pops or dipped treats that will steal the show at any gathering. Enjoy the fun of making, decorating, & devouring these adorable & delicious cake pop treats!


Happy Baking!


The Ultimate Guide to melting Peter’s Caramel Loaf

Peter’s Caramel Loaf is a beloved favorite among confectioners & home bakers alike. Peter’s Caramel’s authentic flavor profile strikes the perfect balance between rich buttery goodness & the alluring sweetness of brown sugar. Known for its workable texture & delightful stretch, this premade caramel loaf is perfect for creating pure caramel confections, pecan clusters, caramel coated apples & so much more. The shelf-stable nature of Peter’s Caramel Loaf ensures that you always have a ready-to-use caramel block on hand, saving you time & effort in the kitchen. Whether you are a seasoned baker, or a novice pastry chef, experimenting with caramel for the first time, this premade Peter’s Caramel Loaf is sure to elevate your confectionery creations!

How to Melt Peter’s Caramel Loaf:


Double Boiler:

  1. Prepare a heavy-bottomed saucepan or a double boiler. Ensure the boiling water does not touch the pan or bowl that will hold your caramel as no water should come in contact with your caramel.
  2. Slice the desired amount of Peter’s Caramel Loaf & put it in the bowl going over the double boiler. If you are following a specific recipe, be sure to weigh out the exact amount of Peter’s Caramel that the recipe calls for.
  3. Melt the Peter’s Caramel on low to medium heat, stirring constantly. 
    PRO TIP: use a rubber spatula instead of a whisk to minimize air bubbles.
  4. The temperature of your caramel should remain between 160ºF- 180ºF while melting.
  5. Once you’ve reached the desired consistency, remove your Peter’s Caramel from the heat to avoid overcooking or burning.

Microwave:

  1. Place the desired amount of Peter’s Caramel in a microwave safe bowl.
  2. Cook on high for 1 minute, remove & stir.
  3. Cook on high at 50% power for another minute & stir.
  4. Repeat cooking at 50% power in 1 minute intervals, stirring in between, until your Peter’s Caramel is fully melted. 
    PRO TIP: To avoid burning your caramel, do not allow Peter’s Caramel to exceed 180ºF.
  5. Stir occasionally with a rubber spatula to maintain the desired temperature & consistency.

PRO TIP: Add in 1lb of white coating wafers (such as our Sweet Shoppe White Coating Wafers) to every 5lbs of caramel to avoid air bubbles, improve elasticity & cold flow (when caramel collapses or starts to sag over time once it dries) while dipping fruit such as caramel apples. 


Cleaning up after melting Peter’s Caramel is much easier when it’s done promptly. Warm water & soap should be sufficient to clean your utensils. Any leftover melted caramel can be stored in an airtight container in a dark cool place, just like your chocolate wafers. Keep in mind for future use, the texture of Peter’s Caramel may slightly change upon reheating depending on the temperature the caramel reaches while working with it. 


If you are looking for a more liquidy caramel to use for filling bonbons or drizzling, Peter’s Liquid Caramel might be exactly what you're looking for. 


If you still don’t know which caramel to use or have further questions about melting Peter’s Caramel Loaf, please reach out to our customer service team at info@stovercompany.com.


How To Use Sweet Shoppe Compound Coating Wafers


White & Milk Chocolate Cakesicles

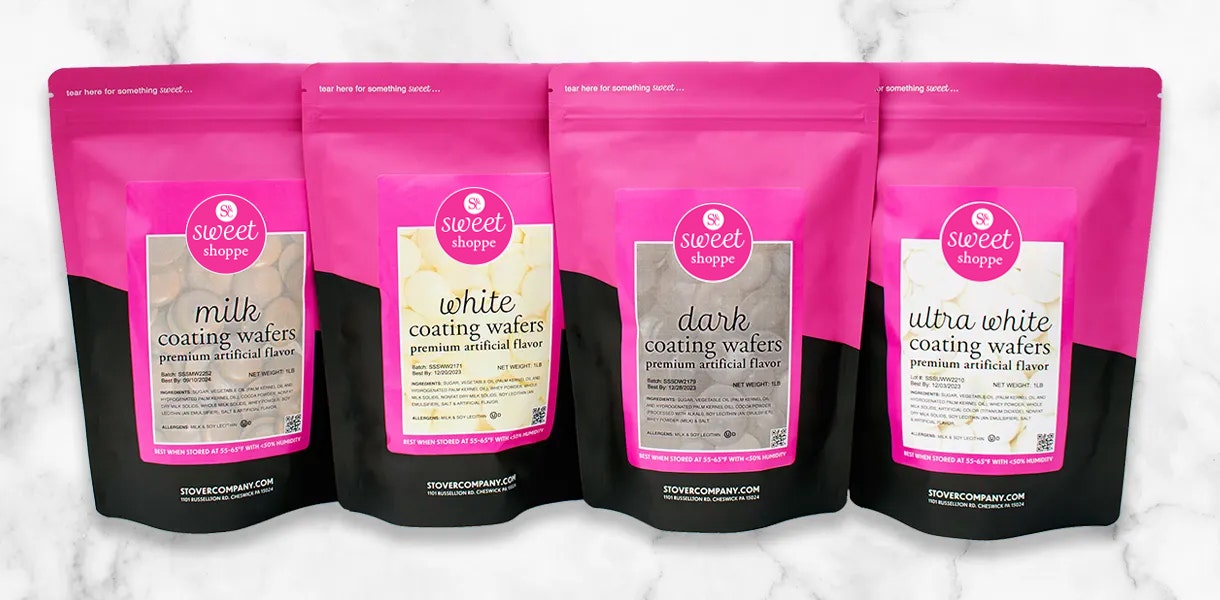
Sweet Shoppe Coating Wafers are a premium brand of chocolate melts perfect for making hot chocolate bombs, molded candy, cake pops, and anything and everything in between. They melt silky, smooth for the perfect consistency every time. Plus, you don't have to be a pastry chef to use them. There's no tempering! Just melt, and they're ready to use. 

Read more

Sweet Shoppe Coating Wafers | Preorder starts June 28th!

If you haven't heard already (which I'm assuming you have if you're reading this), we're launching our own brand of compound chocolate called Sweet Shoppe Coating Wafers. We've been working on this product for over a year and are excited to debut it in Mid-July.

Read more

connect with us