Tagged with 'sweet shoppe '

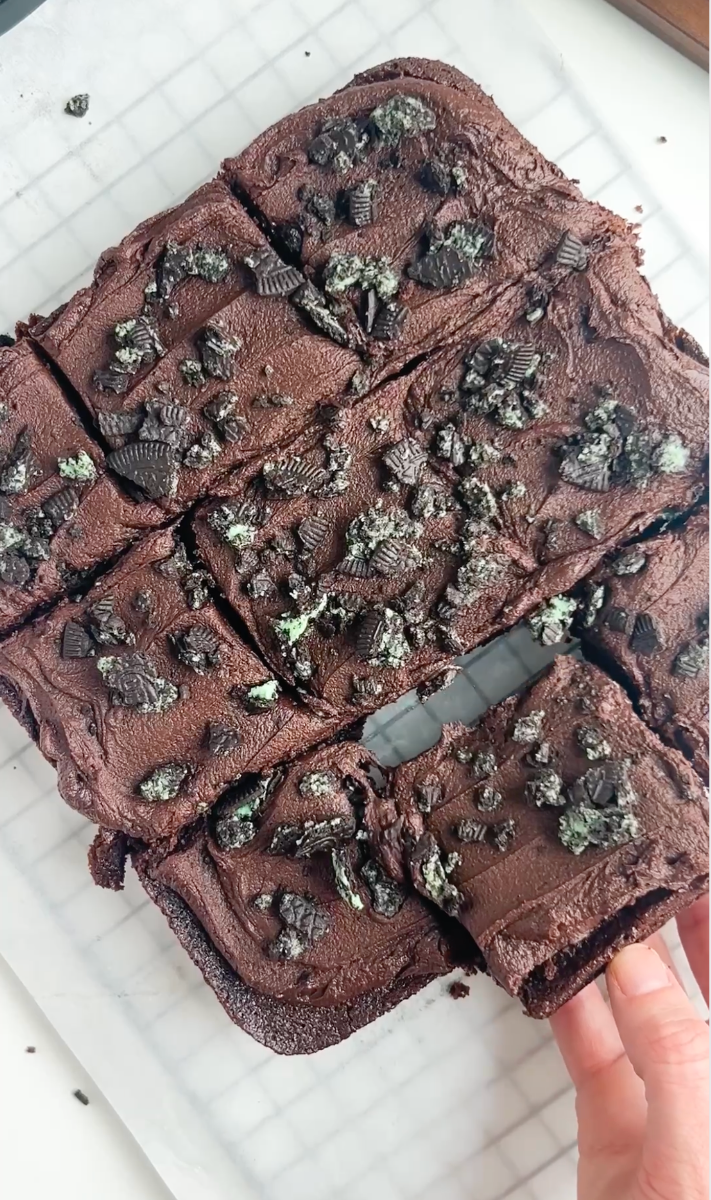
Brownies with Midnight Mint Chocolate Flavored Frosting


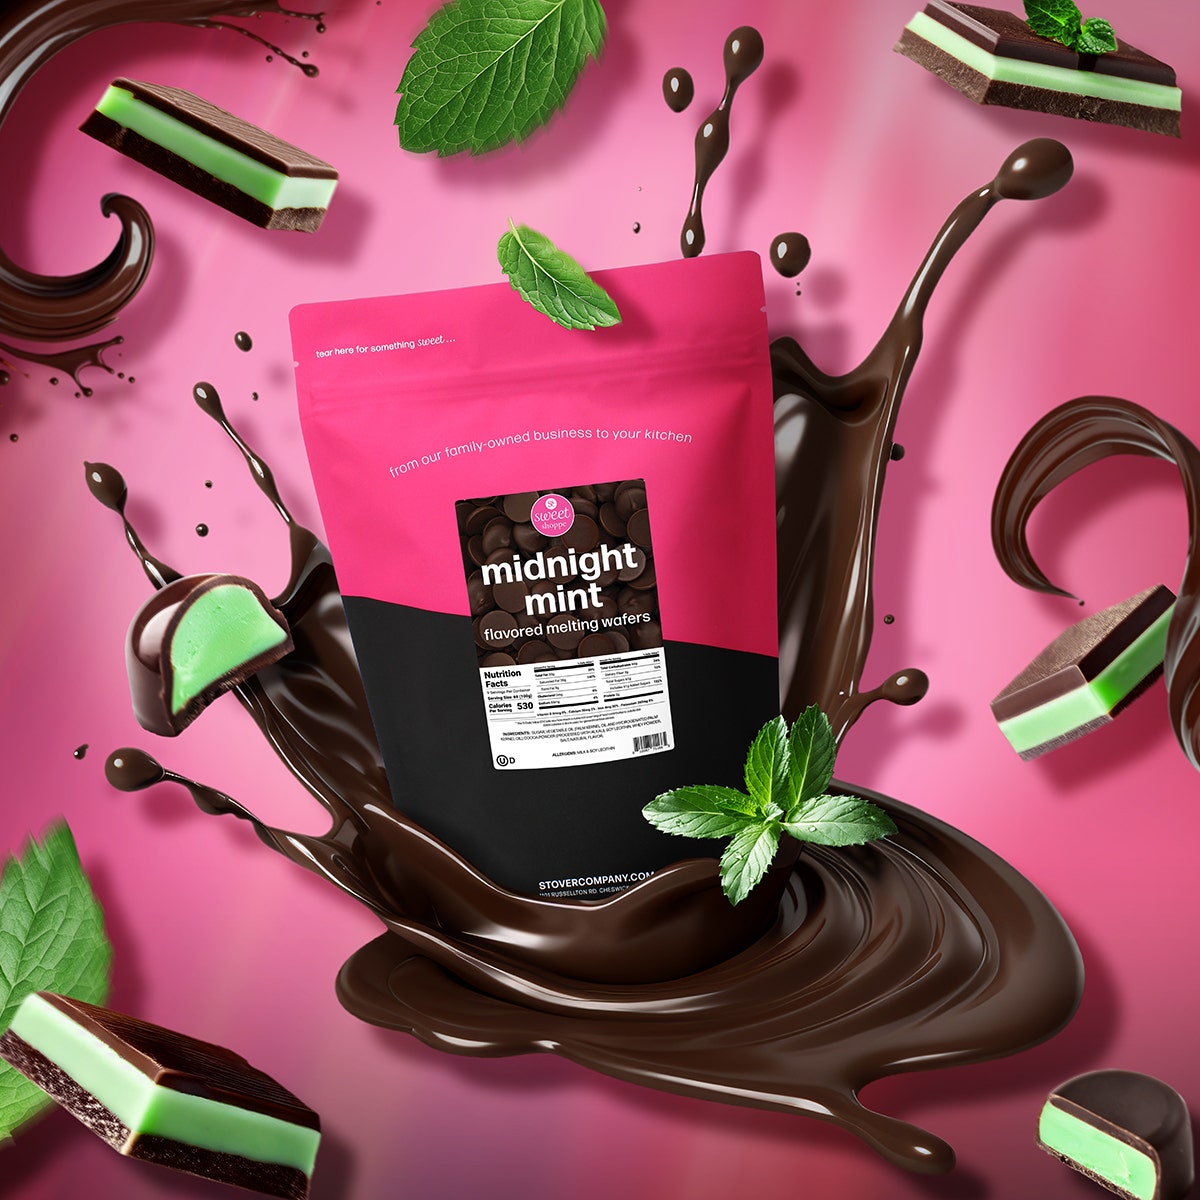
Elevate your brownie game by topping them with a creamy, mint-chocolatey frosting! Made with our Sweet Shoppe Midnight Mint Melting Wafers, this frosting blends the deep richness of cocoa flavor with a refreshing hint of mint, creating a flavor combination that is irresistible. 
Ingredients:

Directions:

  1. Combine the melted butter & cocoa powder in a medium-sized bowl using a hand mixer until well blended.
  2. Gradually add the powdered sugar & salt, mixing with the hand mixer on low. Add tablespoons of milk or heavy cream in between to achieve a smooth consistency.
  3. Once the mixture is smooth, add the melted Sweet Shoppe Midnight Mint Melting Wafers.
  4. Mix on medium to medium-high speed until the frosting is fully combined & velvety.
  5. Spread the frosting generously over cooled brownies. For an extra touch, sprinkle crushed mint Oreos on top. Enjoy!
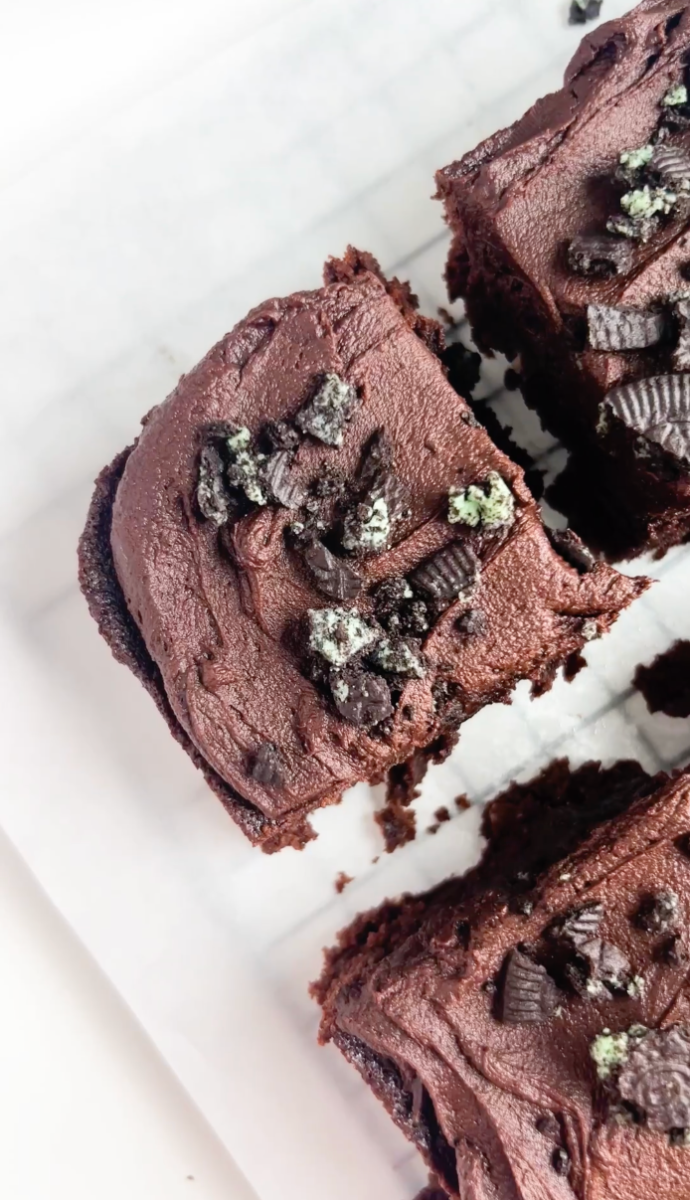
So, what are you waiting for? Grab your ingredients & followalong with  this video to start baking your way to Midnight Mint Chocolate Flavored Brownies!  Don’t forget to share your creations with us on social media – we’d love to see how you’re enjoying these delicious brownies! .

Introducing Our New Winter Flavors: Sweet Shoppe’s Holiday Magic!

Get ready to indulge in the magic of the holiday season with our exciting new winter-flavored melting wafers! We’re so excited to introduce THREE bold, festive additions to the Sweet Shoppe Collection that are perfect for your seasonal creations: Sweet Shoppe White Peppermint Blast, Sweet Shoppe Midnight Mint, & Sweet Shoppe Dark Raspberry Truffle.


These rich, decadent flavors offer the same creamy quality you love from our Sweet Shoppe Melting Wafers but with a holiday twist!


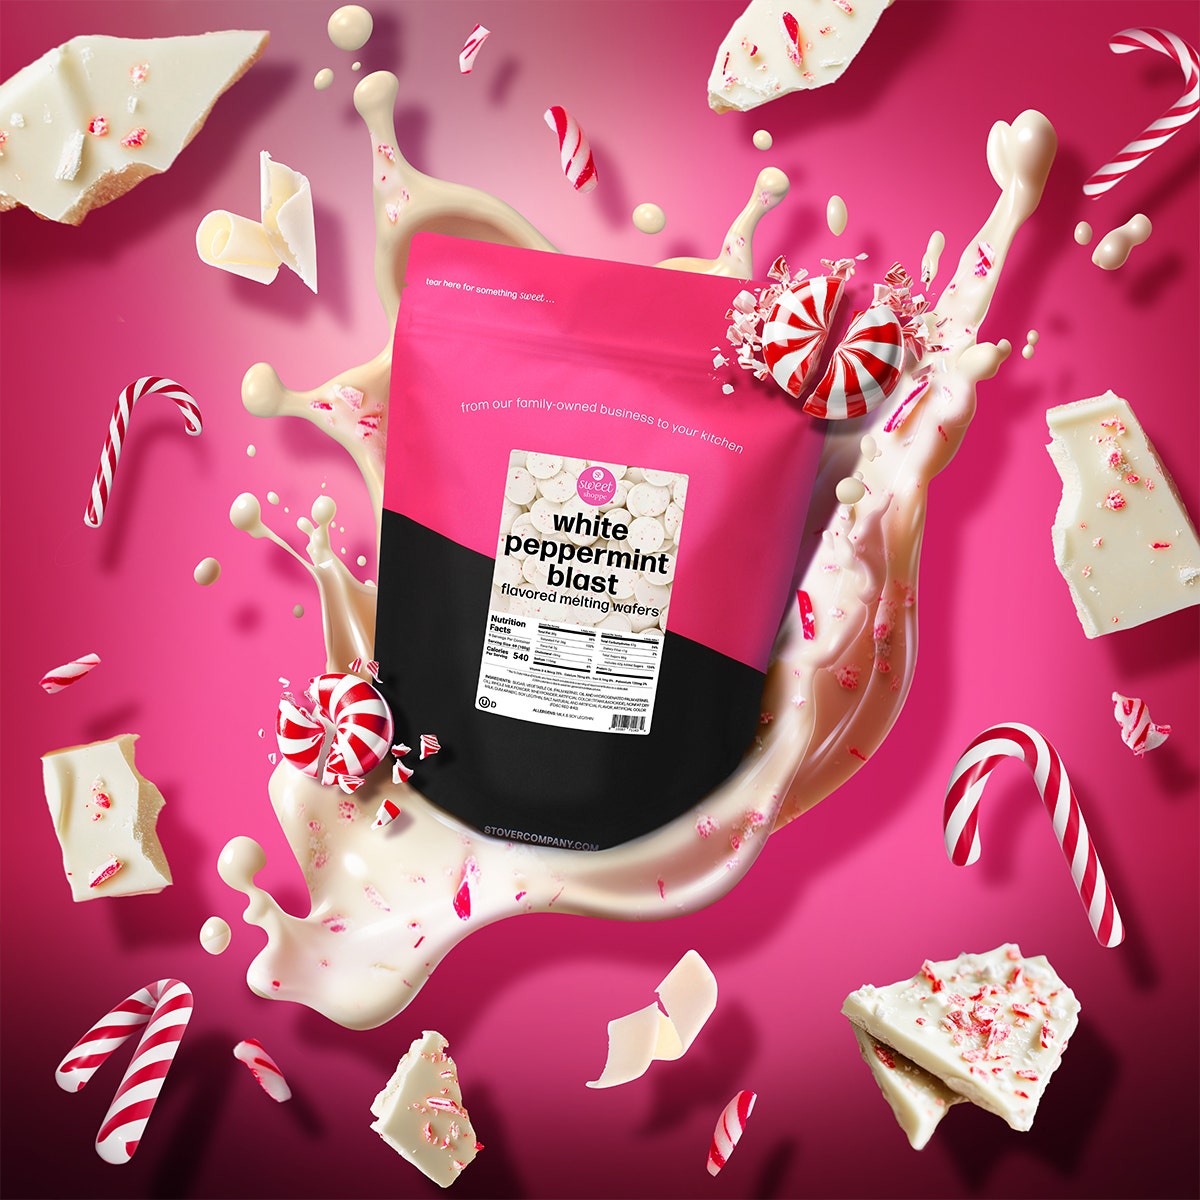
Sweet Shoppe White Peppermint Blast

Our ultra white melting wafers meet a festive peppermint crunch! This refreshing flavor will add a crisp, minty note to your creations—perfect for everything from holiday bark to peppermint-dipped cookies.

Sweet Shoppe Midnight Mint

Experience the bold flavor of dark chocolate combined with the refreshing coolness of spearmint. Sweet Shoppe Midnight Mint offers a perfect blend of rich cocoa & cool mint, ideal for wintertime treats like mint brownies, truffles, or even homemade peppermint patties.


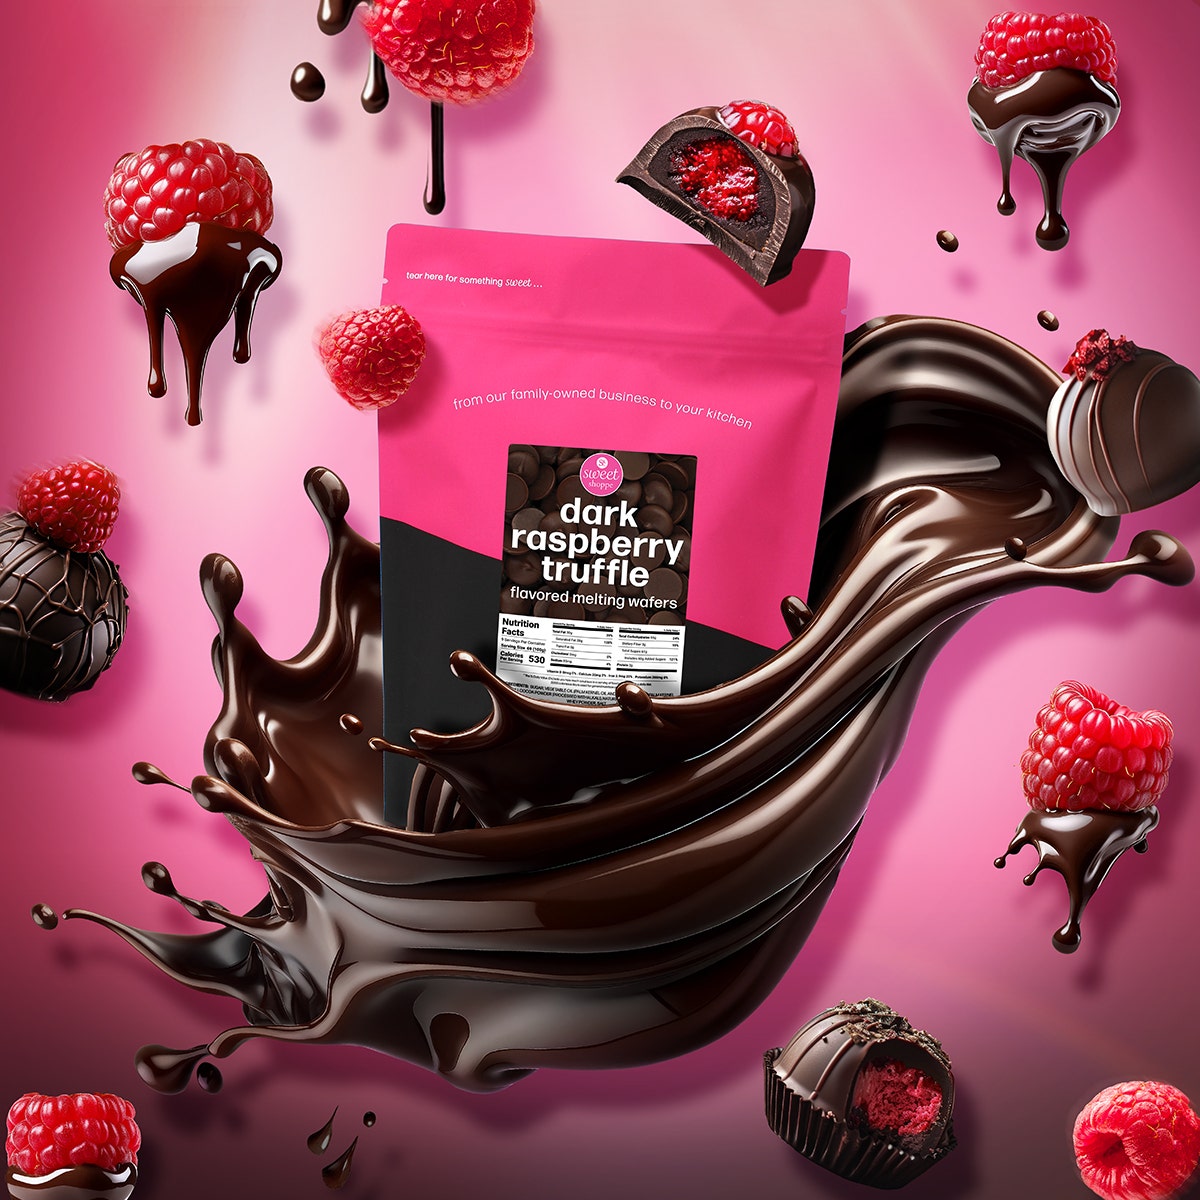
Sweet Shoppe Dark Raspberry Truffle

For those who love a mix of fruit & chocolate, Sweet Shoppe Dark Raspberry Truffle is a match made in heaven. The deep cocoa flavor mingles with sweet, fruity raspberry notes, bringing an elegant touch to desserts like raspberry chocolate fudge or dipped truffles.

Stay tuned—the holiday magic is just around the corner! These seasonal flavors will be available for purchase early next week, so start planning your festive treats!


We can’t wait to see what you create with these new winter flavors! Share your photos & videos with us by tagging us on social media or joining the fun in our Facebook Group, Stover’s Confection Connection. Let’s spread some holiday cheer, one sweet creation at a time!

NEW Flavored Melting Wafers—A Sweet Shoppe Exclusive!

At Sover & Company, we’re always eager to bring something new & exciting to your kitchen, whether you’re a hobby baker, treat maker, or a manufacturer crafting the next big thing in sweets. Our Sweet Shoppe Melting Wafers have already captured hearts nationwide, thanks to their vibrant colors & smooth, easy-to-melt consistency. We’re so happy to announce the launch of three irresistible NEW FLAVORS that are perfect for your fall-inspired treats!


A Flavorful Expansion to our Beloved Sweet Shoppe Line

Our Melting Wafers have become a staple for anyone looking to add that perfect touch to their sweet treats. Starting with the classic four core flavors—Ultra White, White, Milk, & Dark Chocolate—we expanded the line last summer with a colorful palette including Sunshine Yellow, Sunset Orange, Cardinal Red, Spring Green, Forest Green, Sky Blue, Rose Pink, & Lotus Pink.

Now, we’re taking it a step further with the addition of three mouthwatering flavors that will have you falling in love with your autumn treats all over again!


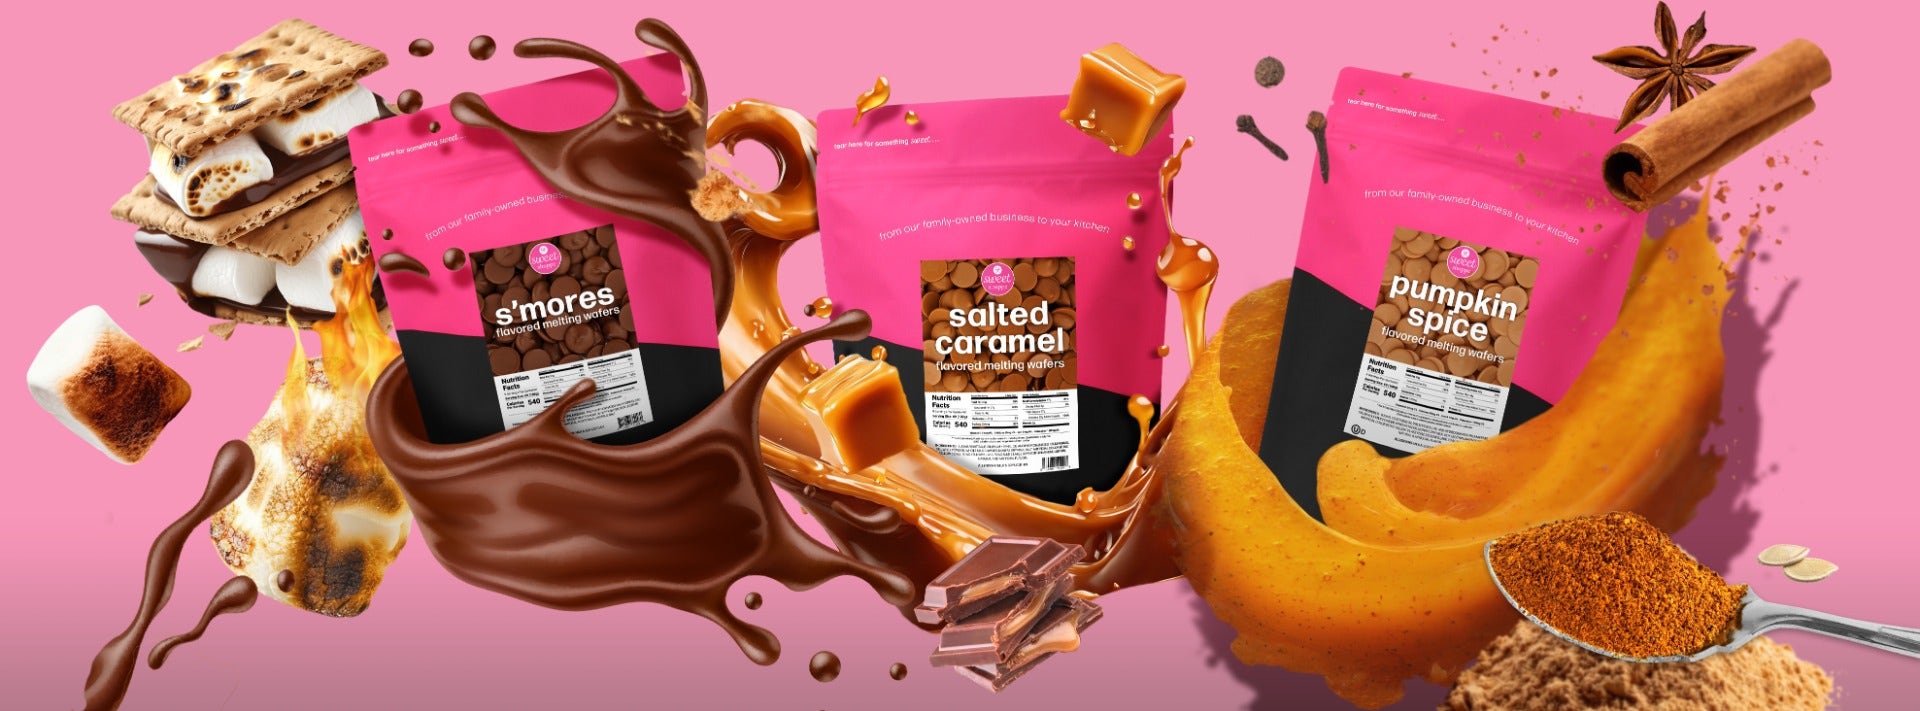
Meet our New Flavors:

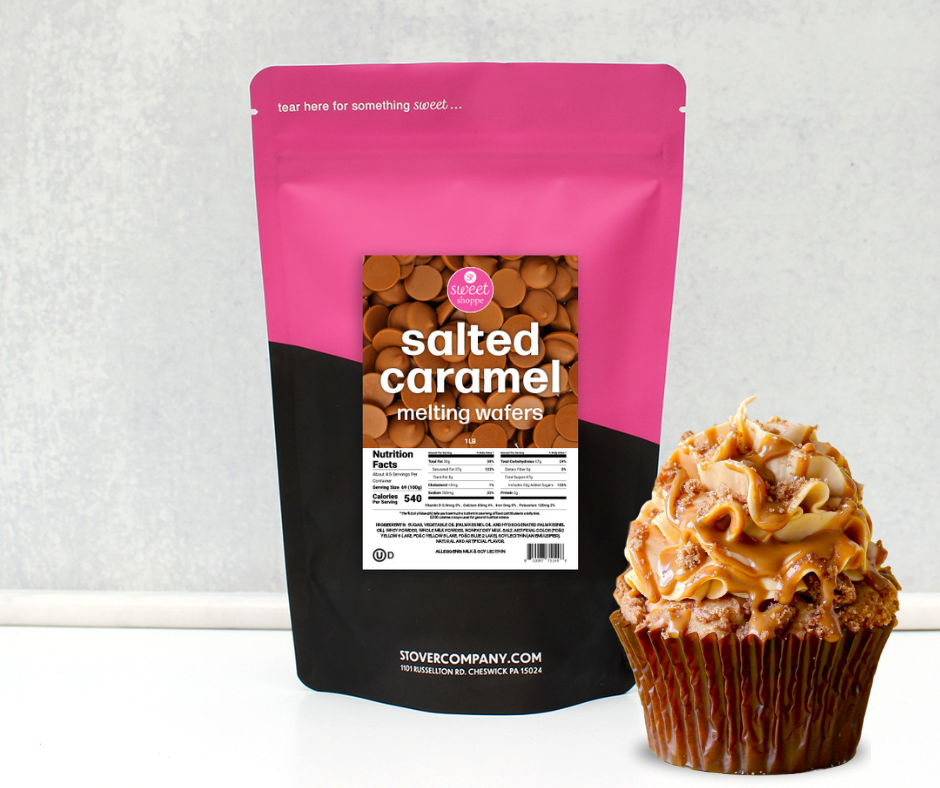
Sweet Shoppe Salted Caramel Flavored Melting Wafers:

Our Salted Caramel Melting Wafers add a rich, creamy caramel flavor with a slightly salty crunch that elevates any dessert. Perfect for dipping, drizzling, or creating your own unique confections, these wafers are a must-have for any caramel lover. Available Now!

Sweet Shoppe Pumpkin Spice Flavored Melting Wafers:

Experience the warm, comforting taste of fall with our new Pumpkin Spice Flavored Melting Wafers. With a delightfully rich pumpkin flavor & a hint of aromatic spices, these wafers will bring a cozy, seasonal touch to your baked goods. Available Now!


Sweet Shoppe S’mores Flavored Melting Wafers:

Capture the essence of a summer bonfire with our S’mores Flavored Melting Wafers. These wafers deliver a delightful blend of roasted marshmallow, graham cracker, & rich chocolate flavors that are sure to evoke sweet memories of campfires past. Available for Pre-order!


Order your Sweet Shoppe Salted Caramel & Pumpkin Spice Flavored Melting Wafers today & don’t forget to secure your preorder for the S’mores Flavored Wafers!


Your taste buds (& customers) will thank you!


4th of July Cupcakes with Easy DIY Toppers!

Fourth of July is right around the corner & what better way to celebrate than with festive, delicious cupcakes? 

Whether you're hosting a backyard barbecue or just enjoying a quiet family gathering, our Sweet Shoppe Melting Wafers in Cardinal Red, Sky Blue, & Ultra White can help you create stunning & patriotic cupcake toppers with minimal effort. 

Here’s how you can create these easy DIY cupcake toppers that are sure to impress!

What You’ll Need:


Instructions:

  1. Prepare Your Cupcakes: Start by either baking your favorite cupcake recipe or grabbing some ready-made cupcakes from the store. Set them aside while you prepare your toppers.
  2. Prep Your Melting Wafers: Place your Sweet Shoppe Melting Wafers in microwave-safe bowls, one color per bowl. Microwave them in 30-second intervals, stirring each time, until the wafers are completely melted & smooth. Check out our youtube channel for more precise instructions on how to melt our Sweet Shoppe!
  3. Shape the Toppers: Line a baking sheet or plate with parchment paper. Place your star-shaped outline underneath the parchment paper (or the outline of your choice) on top. Pour our melted wafers into a piping bag & carefully trace the design.
  4. Set the Toppers: Allow the melted wafers to cool & harden. To speed up the process, place your baking sheet or plate in the freezer for 2-5 minutes. This will help the toppers set quickly & make it easier to peel off the parchment paper.
  5. Peel Off the Toppers: Once the wafers have set, gently peel the toppers off the parchment paper. Be careful not to break the delicate edges.
  6. Decorate Your Cupcakes: Place your newly created star-shaped chocolate cupcake toppers on top of your frosting. Our vibrant cardinal red, sky blue, & ultra white colors will make your cupcakes stand out & perfectly capture the patriotic spirit of the 4th of July.

PRO TIPS:

  • Use a metal spatula to help release your designs without breaking them. You can use the edge of the table by pulling the parchment paper down on the edge to help easily peel your designs off.
  • You can also use cookie cutters to create uniquely shaped cupcake toppers! Simply pour your melted wafers into your cookie cutters & follow the same steps.
  • If you’re having trouble getting the chocolate to release from the cookie cutter, you can lightly spray the inside of the cookie cutter with non-stick spray before pouring in the melted wafers.
  • Mix & match colors to create a variety of designs or try swirling two colors together for a marbled effect!

These delicious cupcake toppers are not only easy to make but they also add a delightful touch to your holiday treats. Your guests will be impressed by your creativity & effort & only you will know just how simple they were to create.

Happy 4th of July from all of us at Stover & Company! 

RECIPE: Chocolate Cupcakes with Salted Caramel Ganache


Indulge in the ultimate chocolate & caramel lover's dream with this decadent Chocolate Cupcake recipe topped with a luscious Salted Caramel Ganache! We’ll be making the ganache from scratch using our our *NEW* Sweet Shoppe Salted Caramel Melting Wafers!

Moist chocolate cake topped with a decadent salted caramel ganache to create a dessert that's sure to impress! 

Let's dive into the recipe & create this chocolate masterpiece!

Ingredients:

For the Chocolate Cupcakes:

For the Salted Caramel Ganache:

Instructions:

For the Chocolate Cupcakes:

  1. Preheat your oven to 350°F (175°C). Prepare a cupcake pan with liners.
  2. In a large mixing bowl, sift together the flour, sugar, cocoa powder, baking powder, baking soda, & salt.
  3. Add the eggs, milk, vegetable oil, & vanilla extract to the dry ingredients. Mix until well combined.
  4. Gradually add the hot water to the batter, stirring until smooth. The batter will be thin, but that's okay.
  5. Divide the batter evenly between the prepared cupcake liners, filling them halfway.
  6. Bake in the preheated oven for18-20 minutes, or until a toothpick inserted into the center comes out clean.
  7. Remove the pans from the oven & let the cupcakes cool completely.

For the Salted Caramel Ganache:

  1. In a heatproof bowl, combine the Sweet Shoppe Salted Caramel Melting Wafers & heavy cream.
  2. Microwave the mixture in 30-second intervals, stirring between each interval, until the wafers are completely melted & the ganache is smooth. About 2 or 3 total intervals.
  3. Let the ganache cool for a few minutes to thicken slightly.
  4. Take ½ of the ganache & transfer it to a glass bowl & refrigerate for 10 minutes to make a thicker consistency for the filling. 

Decorate:

  1. Once the cupcakes have cooled, it's time to decorate them!
  2. Grab your thicker caramel ganache & using a piping bag, top each cupake with firm caramel ganache as if it were frosting.
  3. With your thinner ganache, pour it in a squeeze bottle or use a spoon, create drops or drizzle on the top edge of your piped cupcakes.
  4. If desired, sprinkle sea salt flakes or our eleven o’one Salted Caramel Flakes over the caramel ganache for an extra burst of flavor.
  5. Unwrap your Salted Caramel Chocolate Cupcakes, & enjoy every rich & decadent bite!

Perfect for special occasions or simply satisfying your chocolate cravings, these cupcakes  are sure to be showstoppers!

Sweet Team Spotlight: Amy Mucha!

We personally invited some of our loyalist supporters & biggest superfans to create this power team of talented bakers & treat makers!


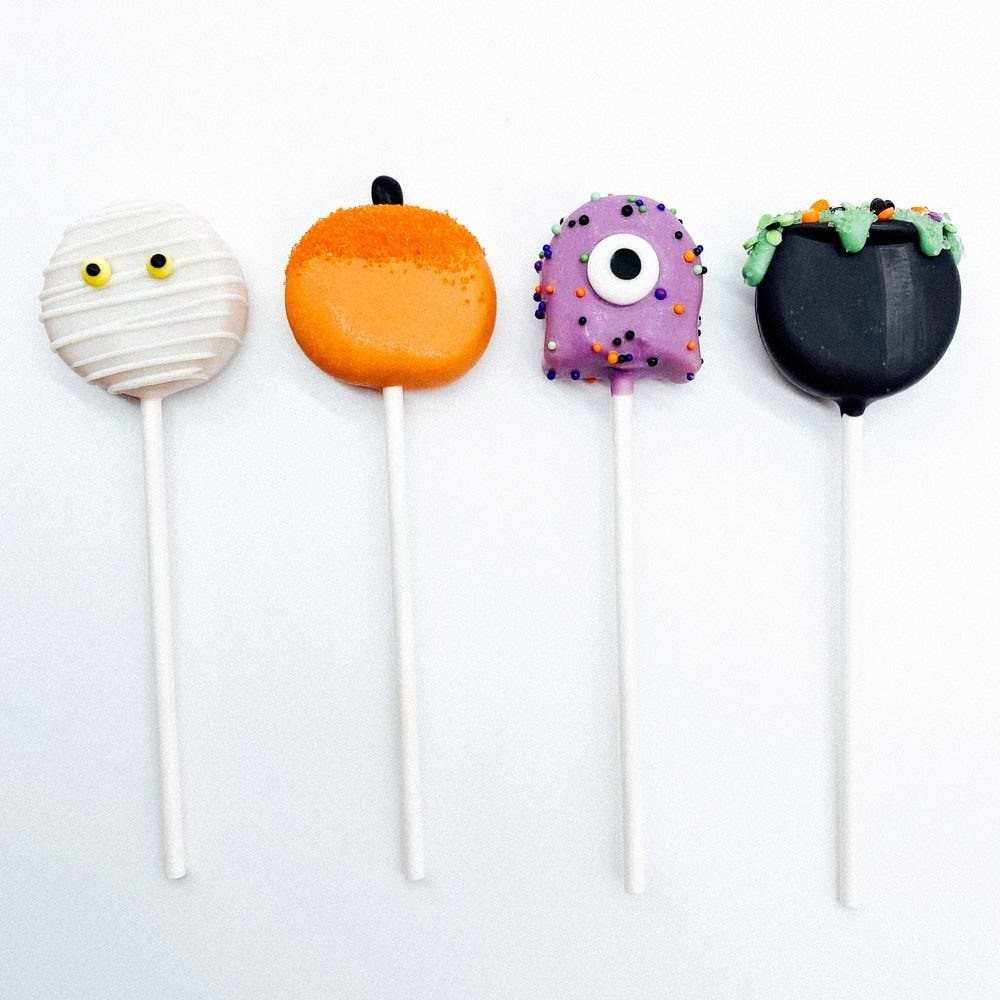
Meet Amy Mucha, the owner & Chief Pop Artist of Daisy Pops, located in Kent, Ohio. Amy's journey into the world of cake popping is as delightful as the treats she creates. 


It began in 2011, when Amy’s mother-in-law gifted her a cakepop recipe book, unknowingly setting the stage for an incredible career ahead! What started as a hobby soon blossomed into passion as Amy delighted friends & family with her whimsical cakepop creations. 


In 2016, overwhelmed by the appreciation for her cakepops, Amy decided to share her cakepops beyond friends & family & that’s when Daisy Pops was born! 


At the beginning, Amy juggled her roles as a highschool math teacher & devoted parent, while Daisy Pops began to gain momentum. When the pandemic hit in 2020, she decided to reevaluate her priorities & put her passion first! Amy left her teaching career in May of 2021, to fully embrace a career of cake popping with zero regrets! 


In April of 2023, Amy opened her first storefront & launched her “popfleet” of cakepop trucks & carts for events! But she didn’t stop there! With high demand for her treats, Amy needed to come up with a more efficient way to crank out cakepops for her customers. That’s when she decided to evolve the traditional cakepop shape into her iconic disc shape! 


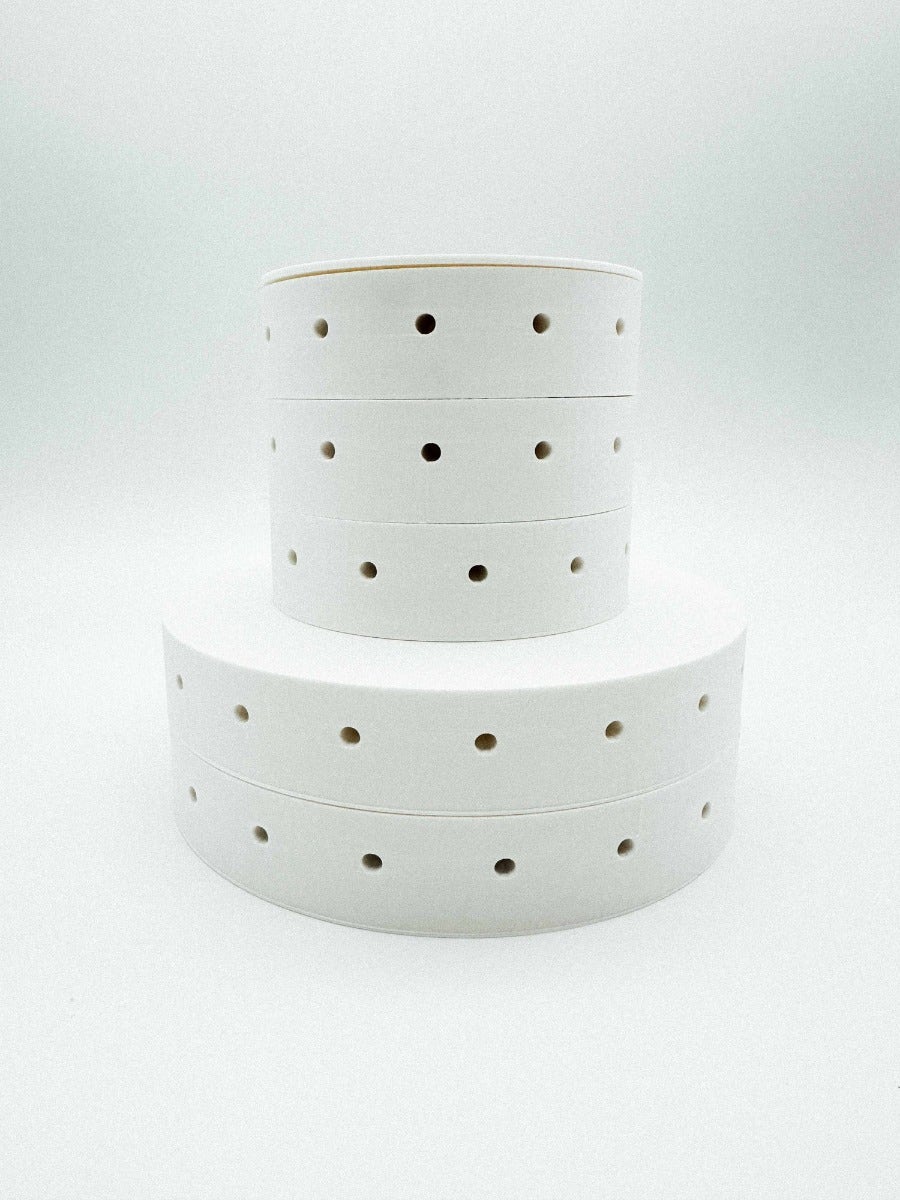
Amy & her husband have expanded upon this idea with their new venture, Pop Innovations. Pop Innovations focuses on enhancing the cake-popping experience through innovative tools & accessories using 3D printing technology.   

When asked about her favorite Stover & Company product Amy says: “Sweet Shoppe White Melting Wafers are my favorite! It makes up the coating for more than 75% of our cakepops & Sweet Shoppe never fails us. The smaller sized wafers are SO easy to melt! We love them!”


Amy now ships her cake pops nationwide!! Click HERE to yorder yours today!

Check out some of Amy’s work below!


Where to find Amy:

Instagram: @daisypops_cakepops

Facebook: Daisy Pops

Website: www.daisypops.com 


Get to know the rest of Stover’s Sweet Team here!


New Size, Same Sweet Shoppe!

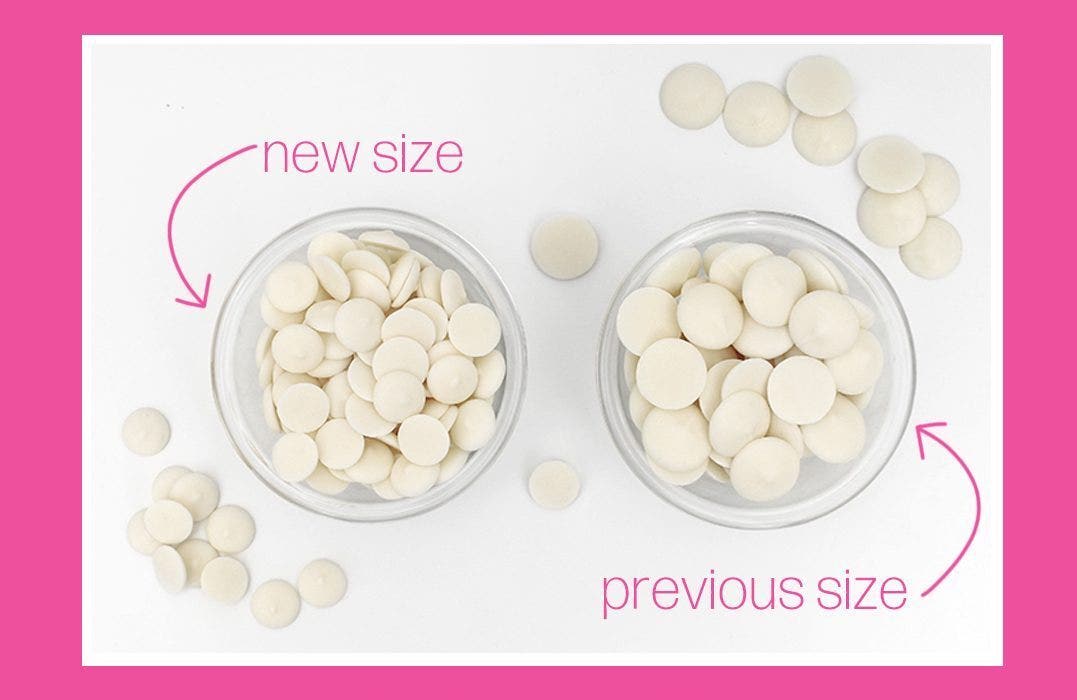
We’re kicking off 2024 with a minor update to our beloved line of compound coating wafers! Our Sweet Shoppe Coating Wafers are transitioning to a brand new, smaller size wafer! 


No need to worry, nothing about the product will change other than the size of the wafer itself! This shift in size doesn’t just offer a change in appearance; it amplifies your usage possibilities. Reducing our Sweet Shoppe wafer size by almost 50% allows for a smoother & quicker melting experience, enabling you to coat, drizzle & decorate with ease! 


At Stover & Company, we understand that consistent quality matters most to our customers! While the size of our wafer may be new, we are committed to providing the same premium ingredients & qualities you’re used to with our Sweet Shoppe products.


Here’s what you can expect during the size transition: 


  • There will be some crossover between wafer sizes as we work through our existing inventory. This means if you order more than one unit, you may receive an order containing both wafer sizes!
  • Rest assured, our original-sized coating wafers continue to uphold the high standard of Sweet Shoppe quality you know & trust. The original-sized wafers are fully usable through the "Best By" date indicated on your package.
  • Smaller wafers = faster melting! That’s right, these new smaller size wafers will save you time in the kitchen as they quickly melt down to the perfect Sweet Shoppe consistency! Please be sure to adjust your melting time accordingly to avoid burning the coating. 
  • During warmer months, our small wafer size may increase in chances of the product melting during transit. We always recommend adding our cold packaging add-on to protect your order as it makes the journey to your door. 


So that's it! New size, same sweet vibes


We value your loyalty to our brand & we’re excited for you to embark on this delightful new journey with us! Stay tuned for more exciting updates & inspiration as we roll out this exciting change! 


Have questions? Contact our customer service team at info@stovercompany.com! 


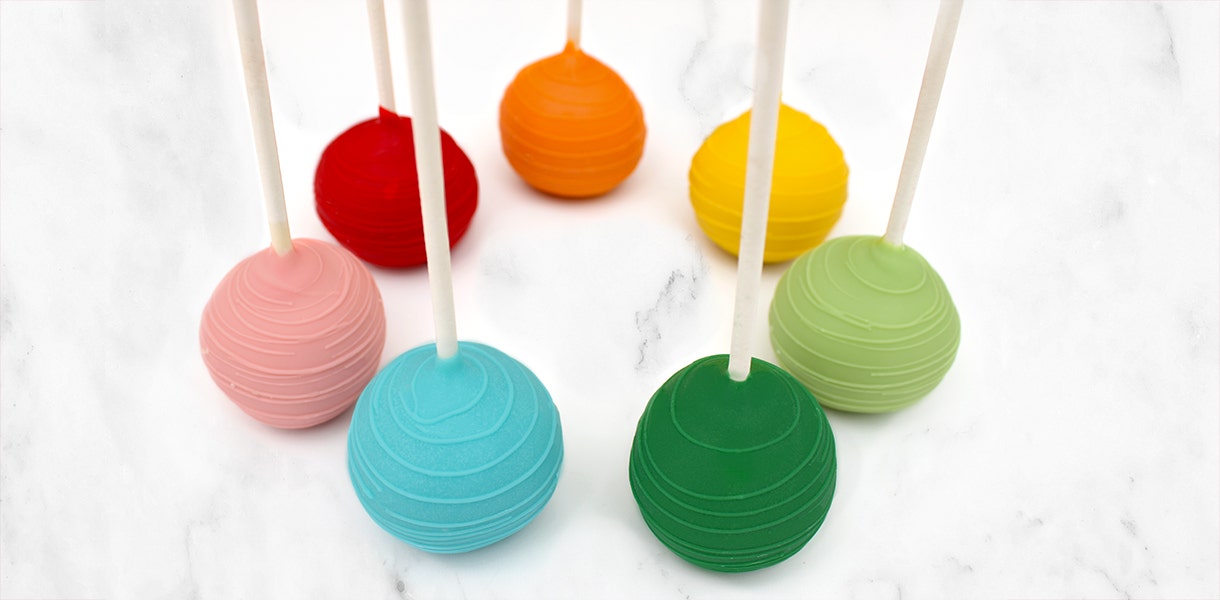
Rainbow Cake Pop Recipe using Sweet Shoppe Colored Wafers

Cake pops are the perfect combination of adorable & delicious treats that are sure to impress at any event. With a pop of color from our new Sweet Shoppe Colored Wafers, these cake pops become even more delightful & eye-catching. Whether you're preparing specialty cake pops for a birthday party, baby shower, or just making a fun dessert, this easy to follow recipe will guide you through creating sweet bites of happiness.

Ingredients:


Equipment:

  • Stand mixer
  • Mixing bowls
  • Rubber spatulas
  • Baking pan/Cookie Sheet
  • Parchment paper
  • Aluminum foil
  • Plastic Wrap
  • Cake pop or lollipop sticks
  • Microwave-safe bowl
  • Food Processor (optional)
  • Small plastic bags or piping bags (for drizzling)
  • Cake pop stand or styrofoam block


Instructions:

Step 1: Prepare the Cake:

  1. Bake your chosen cake according to the recipe or package instructions.
  2. As soon as your cake comes out of the oven, cover it tightly with aluminum foil for 10 minutes. 
    PRO TIP: When you trap the natural steam in with the cake, it will help keep things moist enough to create your cake pops without adding frosting.
  3. After 10 minutes have passed, *carefully* uncover your cake (it will be hot!)
  4. Add large pieces of cake into the bowl of your stand mixer or in a food processor.
    PRO TIP: If you're using a stand mixer, use the paddle attachment for this step. 
  5. Using your mixer, slowly crumble the cake until you form a large doughy ball.
  6. Carefully (it will be hot) wrap the dough ball with plastic wrap & let it cool completely. 
    PRO TIP: We recommend letting it cool overnight. 


Step 2: Shape the Cake Balls:

  1. Using your hands, or a small cookie scoop, weigh out the dough into approximately 1.1oz portions.
  2. Roll out the dough into even balls using firm pressure.
  3. Place the cake balls onto a baking sheet lined with parchment paper & cover with plastic wrap to avoid drying out the dough.

Step 3: Melt Sweet Shoppe Colored Wafers:

  1. Melt your Sweet Shoppe Colored Wafers in a microwave-safe bowl.
    PRO TIP: Check out this post or watch this video for step by step instructions.
  2. Stir the compound coating wafers until they are smooth & fully melted.
  3. Use a thermometer to make sure you do not overheat your Sweet Shoppe Coating Wafers. Your Coating Wafers should never be heated over 90ºF.


Step 4: Dip & Decorate:

  1. Dip the tip of a cake pop stick into your melted compound coating & insert your cake pop stick about halfway into a chilled cake ball.
  2. Let it dry to secure the cake pop to the melted compound coating, making sure to create a full coverage coating. Gently tap off any excess compound chocolate.
  3. With a scribe or a toothpick, pop any air bubbles before the Sweet Shoppe Coating Wafers dry. 
    PRO TIP: popping air bubbles reduces the risk of your cake pops cracking once they dry!
  4. If decorating with Sweet Shoppe sprinkles or Sweet Shoppe sanding sugar, you must act quickly before the cake pop dries completely so they will stick properly. 

Step 5: Drizzle & Decorate:

  1. Melt different colored Sweet Shoppe Coating Wafers & pour them into small plastic bags or piping bags.
    PRO TIP: make sure your piping chocolate is not too hot, as piping with hot compound coatings will make your cake pops crack!
  2. Cut a small hole in the corner of the bag & drizzle the compound coatings over the cake pops to create a drizzle design.
  3. Immediately sprinkle with decorative Sweet Shoppe sprinkles or Sweet Shoppe sanding sugar before the coating sets.

Step 6: Let Dry:

  1. Insert the other end of your cake pop stick into a styrofoam block or cake pop stand to allow the coating to set without creating a flat top. Sweet Shoppe Compound Coatings only take      a couple of minutes to dry.

Step 7: Let the Cake Pops Set:

  1. Allow the cake pops to fully set & harden before serving or packaging.

These cake pops coated with Sweet Shoppe Colored Wafers are a burst of color & flavor that will delight both kids & adults alike. With a bit of creativity & a handful of ingredients, you can create a stunning array of cake pops or dipped treats that will steal the show at any gathering. Enjoy the fun of making, decorating, & devouring these adorable & delicious cake pop treats!


Happy Baking!


Summertime Bliss Indulge in Delectable Chocolate Treats

Ah, summertime—the perfect season to enjoy the sunshine, embrace relaxation, & treat yourself to delightful, mouthwatering treats. When it comes to satisfying your sweet tooth during the warmer months, nothing quite beats the combination of chocolate, cookies, ice cream & cake!

Chocolate Chip Ice Cream Sandwiches:


What better way to beat the summer heat than with a classic ice cream sandwich? Elevate this classic summertime treat by adding a generous sprinkle of Sweet Shoppe Semi-Sweet Chocolate Chips to the edges of your homemade cookies before sandwiching your favorite ice cream flavor between them. The combination of the chewy cookies, creamy ice cream, & delightful chocolate crunch will leave you craving more. Choose from traditional size chocolate chips or our mini size!


PRO TIP: Check out our favorite chocolate chip cookie recipe here!

Triple Chocolate Covered Popsicles:

When the temperature rises, nothing cools you down quite like a refreshing popsicle. Take your icy indulgence to the next level by creating triple chocolate covered popsicles. Melt & combine our Eleven o’one Sixty Dark Couverture Chocolate, Eleven o’one Thirty Five Milk Couverture Chocolate, & Eleven o’one Thirty Three White Couverture Chocolate then dip your favorite flavored popsicle into each different type of chocolate, creating fun designs! As a final touch, drizzle over the popsicles with extra melted chocolate before freezing or dust with your favorite edible glitter! These rich, velvety treats are a chocolate lover's dream.

Chocolate Dipped Strawberries:

Looking for a sophisticated yet refreshing dessert for a summer soirée? Chocolate-dipped strawberries are an absolute crowd-pleaser. Don’t feel like tempering chocolate? Melt some Eleven o’one Deluxe Milk or Eleven o’one Deluxe Dark European Compound Coating, dip plump strawberries into the melted compound coatings, & allow them to set. For an extra touch of pizzazz, roll the dipped strawberries in colorful Sweet Shoppe Sprinkles or Sweet Shoppe Nonpareils. The combination of luscious chocolate & juicy strawberries creates a harmonious blend of flavors that epitomize summer luxury.

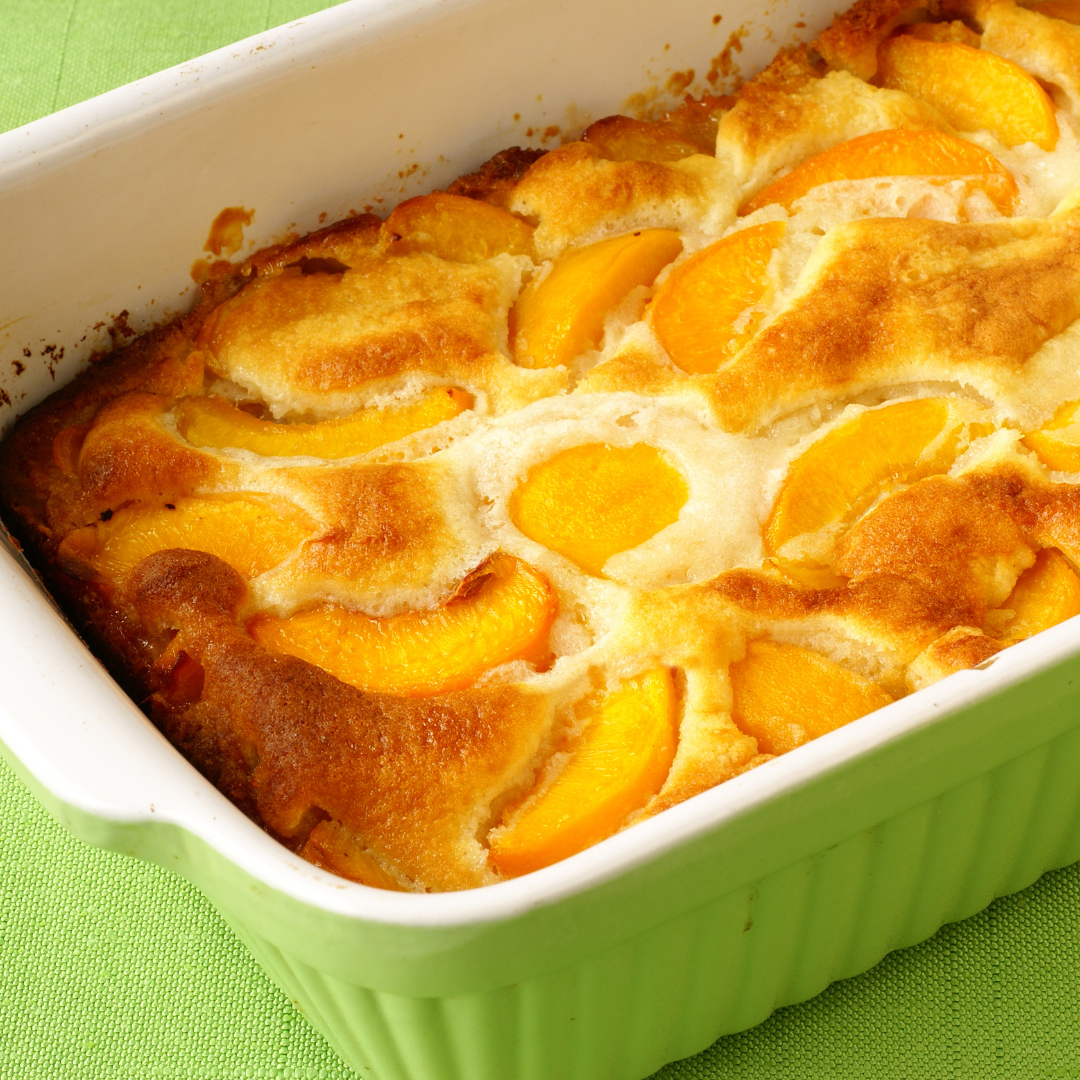
Cake Mix Cobbler:

Need to bring an easy dessert for a summer picnic? It doesn’t get easier than a cake mix cobbler! In a baking dish, combine your choice of cake mix (we love Pillsbury Baker’s Plus!) with canned fruit pie filling of your choice or Henry & Henry Crown Fillings (such as cherry, apple, or peach). Stir until the cake mix is evenly moistened & spread it out evenly in the dish. Bake for the recommended time on the cake mix package, or until the top is golden brown & bubbly. Serve warm with a scoop of vanilla ice cream for a comforting fruity dessert.

Whether you prefer a chocolate treat, a refreshing ice cream or bake a seasonal cake, don't resist the temptation—embrace the joy of summer indulgence & let your taste buds dance with delight!

The BEST chocolate chip cookies!

Having a reliable & tasty chocolate chip cookie recipe on hand is a MUST for any baker. If you don’t have one, then stop what you’re doing & print this page!! You’re going to want to hold this recipe tight for years to come!


This tried & true recipe creates the most perfect extra large chocolate chip cookies with golden crispy edges & a soft chewy center. Whether you're making a batch of cookies for one… or need dozens for an upcoming event, this recipe is sure to be a crowd pleaser. 

Read more

connect with us