How to Make Candy Clay with Sweet Shoppe Melting Wafers
- Sep 12, 2024
Candy clay is a versatile, fun, & delicious alternative to fondant. Most people know it as modeling chocolate, but since we are using melting wafers instead of couverture chocolate, we’re calling this candy clay!

Whether you’re decorating cakes, molding figures, or creating edible sculptures, candy clay gives you the flexibility & smooth texture you need. The best part? It’s easy to make using just two ingredients: Sweet Shoppe Melting Wafers & light corn syrup! Check out our recipe video here & follow the simple guide below to whip up your own batch of candy clay.
Ingredients
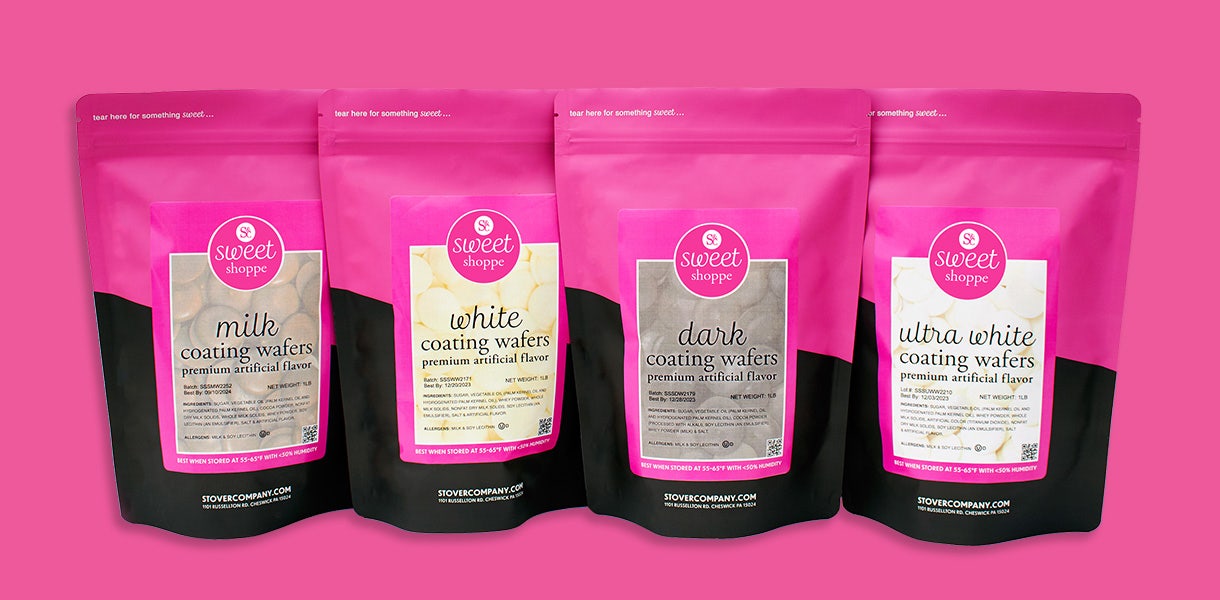
• 16 oz Sweet Shoppe Melting Wafers (available in various colors & flavors!)
• 3.5 oz light corn syrup
Instructions
1. Melt your Sweet Shoppe Melting Wafers
Begin by melting your Sweet Shoppe Melting Wafers in the microwave in 20-30 second intervals, stirring between each round to ensure the chocolate melts smoothly without burning.
2. Warm your Corn Syrup
Next, gently warm your light corn syrup in the microwave for about 15-30 seconds. Make sure not to overheat it! If you want to color your candy clay, now is the time to add liquid coloring. You can either:
• Add oil based color to the melted wafers.
• Mix liquid gels into the warm corn syrup before combining.
Pro Tip: If you’re using white melting wafers, feel free to add liquid colors directly to the syrup as it doesn’t need to be oil-based.
3. Combine the Ingredients
Pour the warmed corn syrup into your Sweet Shoppe melted wafers. Use a silicone spatula to fold the mixture together. Be gentle during this step; you want to mix until it resembles soft-serve ice cream but avoid overmixing. If you overwork it, the oil may begin to separate from the mixture.
4. Let it rest
Once mixed, pour the candy clay onto a sheet of plastic wrap. Cover it tightly & let it rest at room temperature until it firms up but remains pliable. Depending on the room temperature, this can take up to a few hours.
5. Knead Until Smooth
When the clay is firm but workable, knead it with your hands until it becomes smooth & pliable. If you overwork it & feel the oil separating, let it rest & cool before kneading again. Rewrap the finished candy clay in plastic wrap & let it harden completely before using it.
6. Store Properly
To store your candy clay, wrap it in plastic wrap & then place it in a ziplock bag. Check the expiration dates of both your melting wafers & corn syrup, & use the closest date as your storage guideline.
Pro Tips:
• Avoid Overmixing: If you overmix the melted wafers & corn syrup, the oil in the mixture may separate. Stir gently to maintain the right consistency.
• Reheating: After the candy clay has set completely, it will be stiff. You can warm it for 5 seconds at a time in the microwave to help soften it up for use.
.
Uses for Candy Clay
Candy clay is a fantastic alternative to fondant for cake decorating.
You can:
• Roll & cut shapes for cupcakes & cakes.
• Mold & sculpt figures & flowers for detailed cake toppers.
• Use it as a covering for cakes or cookies just like fondant.
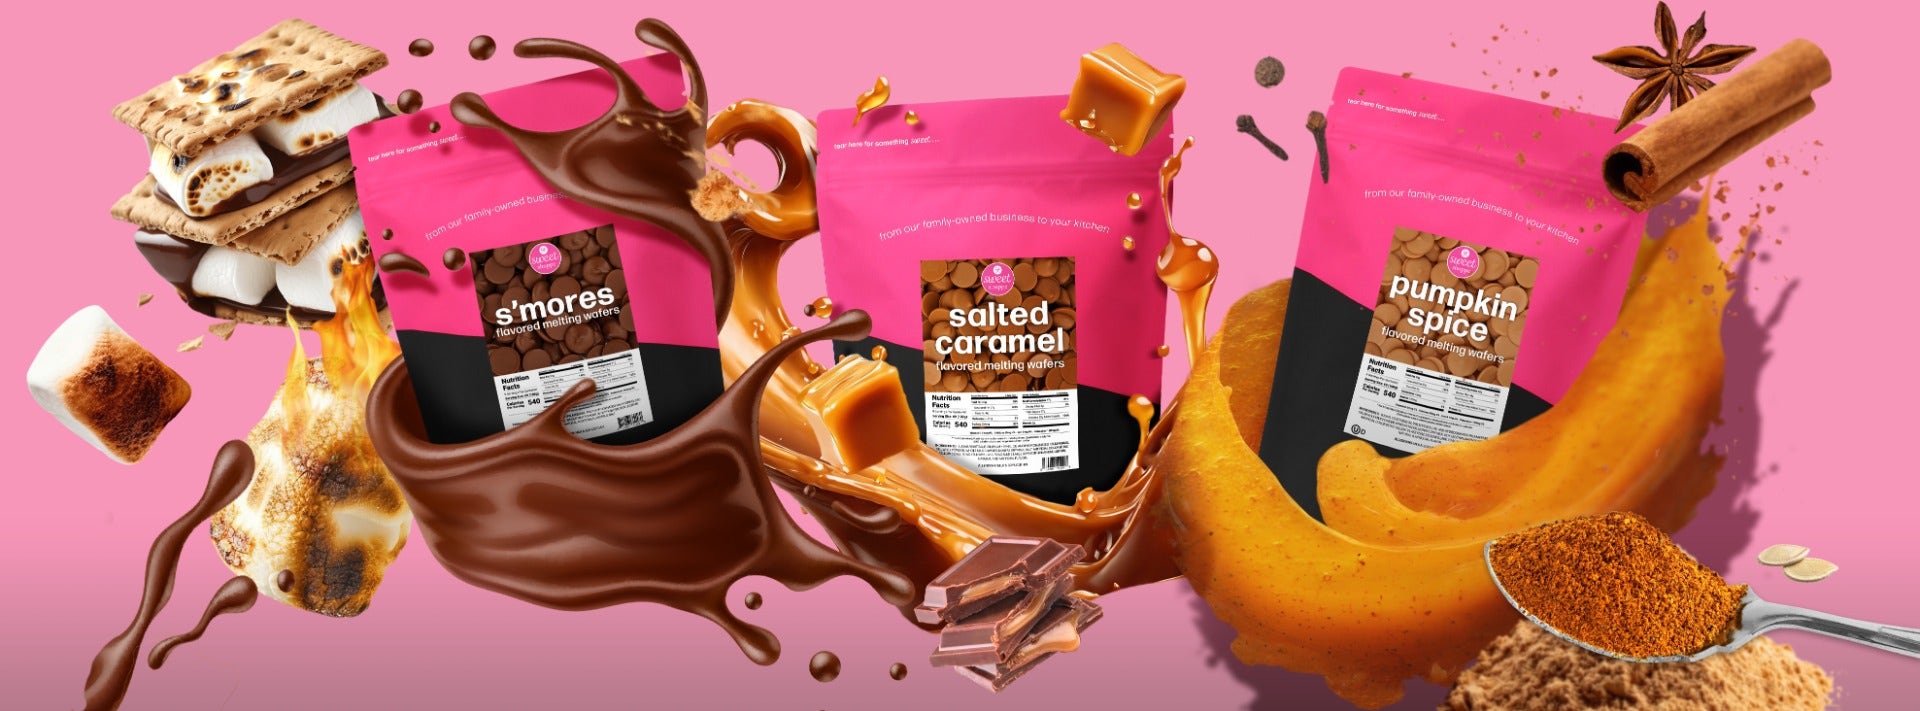
Get creative, experiment with different colors & flavors with our new Sweet Shoppe Fall Flavored Melting Wafers (Salted Caramel, Pumpkin Spice & S’mores, yum!) & have fun making your own beautiful edible decorations! Share your creations with us by tagging us @stoverandcompany or in our Facebook group: Stover’s Confection Connection.
Be sure to check out our Youtube channel for more ideas & recipes!

