A Guide to Piping Bags for Cake Decorating
- Sep 13, 2022
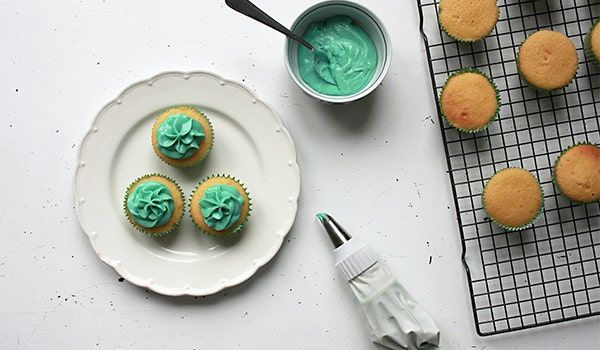
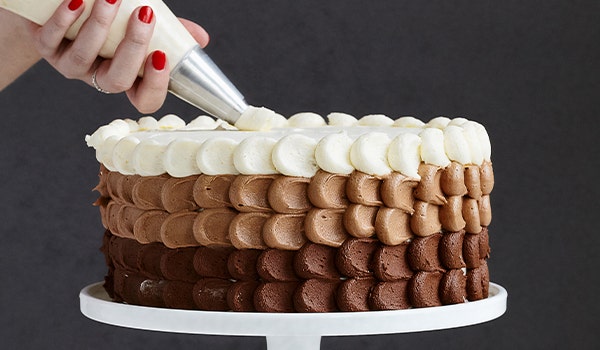
Have you ever seen a beautifully decorated cake & wondered how the baker created those symmetrical flowers, endless swirls or perfect piping? Just like any craft, a baker uses special tools to achieve these classic styles. Let’s explore some of these tried & true cake decorating tools!

Baker’s have been using piping bags (also known as pastry bags) to decorate cakes, cupcakes, & pastries for centuries. While the basic concept hasn’t changed, piping bags have evolved & are now available in a variety of materials so you’ll need to figure out which piping bags you prefer working with:
Disposable Decorating Bags - Often made of disposable plastic, these piping bags are perfect if you prefer a quick & easy clean up. Disposable Decorating Bags come performed, so all you need to do is cut the end to fit your piping tip. When you’re done, simply remove the piping tip & throw away the piping bag.
Parchment Bags - Run out of premade piping bags? Or do you want to create small details with a little more control? How about a steady hand when it comes to piping letters? DIY parchment bags are the way to go! While these can be created in any size, we recommend only using DIY bags for a small amount of icing to eliminate over squeezing.
Featherweight Decorating Bags - These trusty reusable cake decorating bags are made of flexible & durable polyester & often contain a “greaseproof” coating so the icing won’t seep through. Plus they can be reused as many times as you’d like!
Now let’s talk about piping tips, the secret ingredient behind those intricate shapes & designs made of icing. Piping tips allow you to form your icing into a specific shape so you can create custom cake art. The first step is to determine the style & aesthetic you are going for, so you can select a piping tip to match. Are you making a cake for a customer who has a specific vision or is this for a relative?
Round Tips - Round tips are great for beginners as they are easy to use for piping straight lines. Smaller sized round tips work well for letters, dots or even outlining cookies. Larger sized round tips are perfect for big dots for borders, lines & swirls.
Petal Tips - As the name states, these tips are perfect for creating delicate flowers but that’s not all they do. Use petal pips to create effortless ribbons & ruffles our of icing.
Star Tips - These piping tips provide versatility when decorating cakes. Big or small, the Star Tip helps create effortless icing borders, filler & swirls.
Now that we’ve reviewed the three main categories of piping tip styles, let’s review the difference between working with metal & plastic piping tips.
While it’s all a matter of preference, plastic piping tips are perfect for beginners as they require less investment. Plastic tips come in an array of standard shapes & sizes and can even be found in kits.
Metal piping tips give your cake decorations a sharp & defined shape. Metal tips are more durable than plastic tips & should last you years but they are also more fragile so use care when cleaning & storing.

Now we need to assemble the piping bags & tips together to start decorating!
If you’re working with a preformed piping bag the steps are pretty simple. Slide your decorating tip of choice into the tip of the piping bag. If using a disposable bag, you can mark a line on the bag about halfway up the piping tip to determine where to cut the bag. Remove the tip and cut the bag at the line. Once you have an opening, push the tip through the opening from the inside of the bag.
If you’re working with a reusable bag, the steps are the same, but your bag may already be cut at the end. If needed, screw on an additional tip holder, to keep the piping tip in place at the end of the bag..
Now you’re ready to fill your piping bag with icing & start decorating!
QUICK TIPS:
Don’t over fill your bag! Depending on the size of the bag, we recommend about a ½ cup of icing at a time when piping. Best practice is to never fill your piping bag more than half of the bag length. Overfilling your bag can lead to a messy situation real quick!
If your piping tip becomes blocked during use, use toothpicks to loosen any blockage. Carefully squeeze the bag into a dish, or a practice surface to remove the blockage completely.
Piping bags & tips can seem intimidating at first but with enough practice & patience you’ll be able to decorate cakes like a pro in no time! For more baking tips, check out our blog at stovercompany.com/blog.
